Angular 4, Node, and Azure: Part 4


In part 3 of this series we moved our code to GitLab and set up a workflow where we push changes from our local machine up to GitLab, which fired a webhook to deploy the app automatically to Azure.
We're getting to a better place, but there are a few more things we'd like to take care of. In particular, why-oh-why are we building our changes on our machine and throwing the build artifacts in source control?

Let's tackle that with our third method of getting our app on Azure: leveraging GitLab's CI/CD capabilities.
Method 3: Continuous Integration/Deployment with GitLab to Azure
Our main objective is to improve our workflow so that we separate the build dependencies from our local machine to a different environment. GitLab provides the capability with the free account we created earlier by using their shared runners and Docker.
Here are the steps we need to take:
- Define our CI/CD pipeline in GitHub with our dependencies
- Remove the built artifacts source control
- Clean up our package.json with the appropriate dependencies
- Have GitLab build, test, and deploy our application to Azure
- Have a piece of cake
Ready? We'll start at the top of the list and work our way down.
The way we define our CI/CD pipeline in GitLab is via a .gitlab-ci.yml file at the root of your source controlled project. The .yml will give instructions to the GitLab runners of what to execute. You can review their documentation for an exhaustive list of capabilities, but we'll go over the ones we'll use here.
Go ahead and create the file at the root. Here's what we'll be using for this example:
image: node:latest

stages:
  - build
  - deploy

build:
  stage: build
  script:
    - npm install
    - npm run az-gitlab-build
    - npm prune --production
  artifacts:
    name: "$CI_BUILD_NAME/$CI_BUILD_REF_NAME"
    paths:
    - dist
    - app
    - node_modules
    - app.js
    - package.json
    - web.config
    expire_in: 2d
  only:
    - master

deploy:
  stage: deploy
  script:
    - apt-get update
    - apt-get install -y lftp
    - "mkdir deploy"
    - "cp -R app deploy/app"
    - "cp -R dist deploy/dist"
    - "cp -R node_modules deploy/node_modules"
    - "cp app.js deploy"
    - "cp package.json deploy"
    - "cp web.config deploy"
    - "cd deploy"
    - "ls"
    - lftp -c "set ftp:ssl-allow false; set ssl:verify-certificate false; set ftp:passive-mode true; set ftp:retry-530 (.*?); open -u $AZUREUSER,$AZUREPASS $AZUREFTP; mirror -Rnev --no-symlinks --parallel=24 . /site/wwwroot"
  only:
    - master
Don't worry, we'll get through this section by section:
- At the beginning, we define the Docker image we'd like GitLab to use. In this case, we're specifying the latest version of node.
- We then define the stages we'd like our deployment to go through. You can decide to break apart your pipeline how you see fit, but it's better to make it descriptive and not hyper-modular (e.g. don't have a separate stage for each individual command). In the end, you'll see how GitLab separates each stage for you in their UI.
- Next we define our build stage. The
scriptportion will execute the actions in order. Specifically, we tell the image to install our app (controlled viapackage.json) and run a modified version of ouraz-buildscript we defined in Part 3. Finally, we trim out any non-production dependencies using thenpm prunecommand. That way, ournode_modulesfolder isn't grotesquely huge. - We define several artifacts that we'd like to have available. This artifacts will be available in the next stage (we'll get there in a second) and will also be available for us to download for up to 2 days. Of course, you can always manually re-run the build stage if you needed to get a specific artifact.
- In our deploy stage, we install a tool called "lftp". As its name suggests, we're going to use FTP to deploy our app to Azure using the credentials that we've used before. There are a series of commands to copy our build artifacts into a "deploy" folder, which we'll use to mirror to Azure.
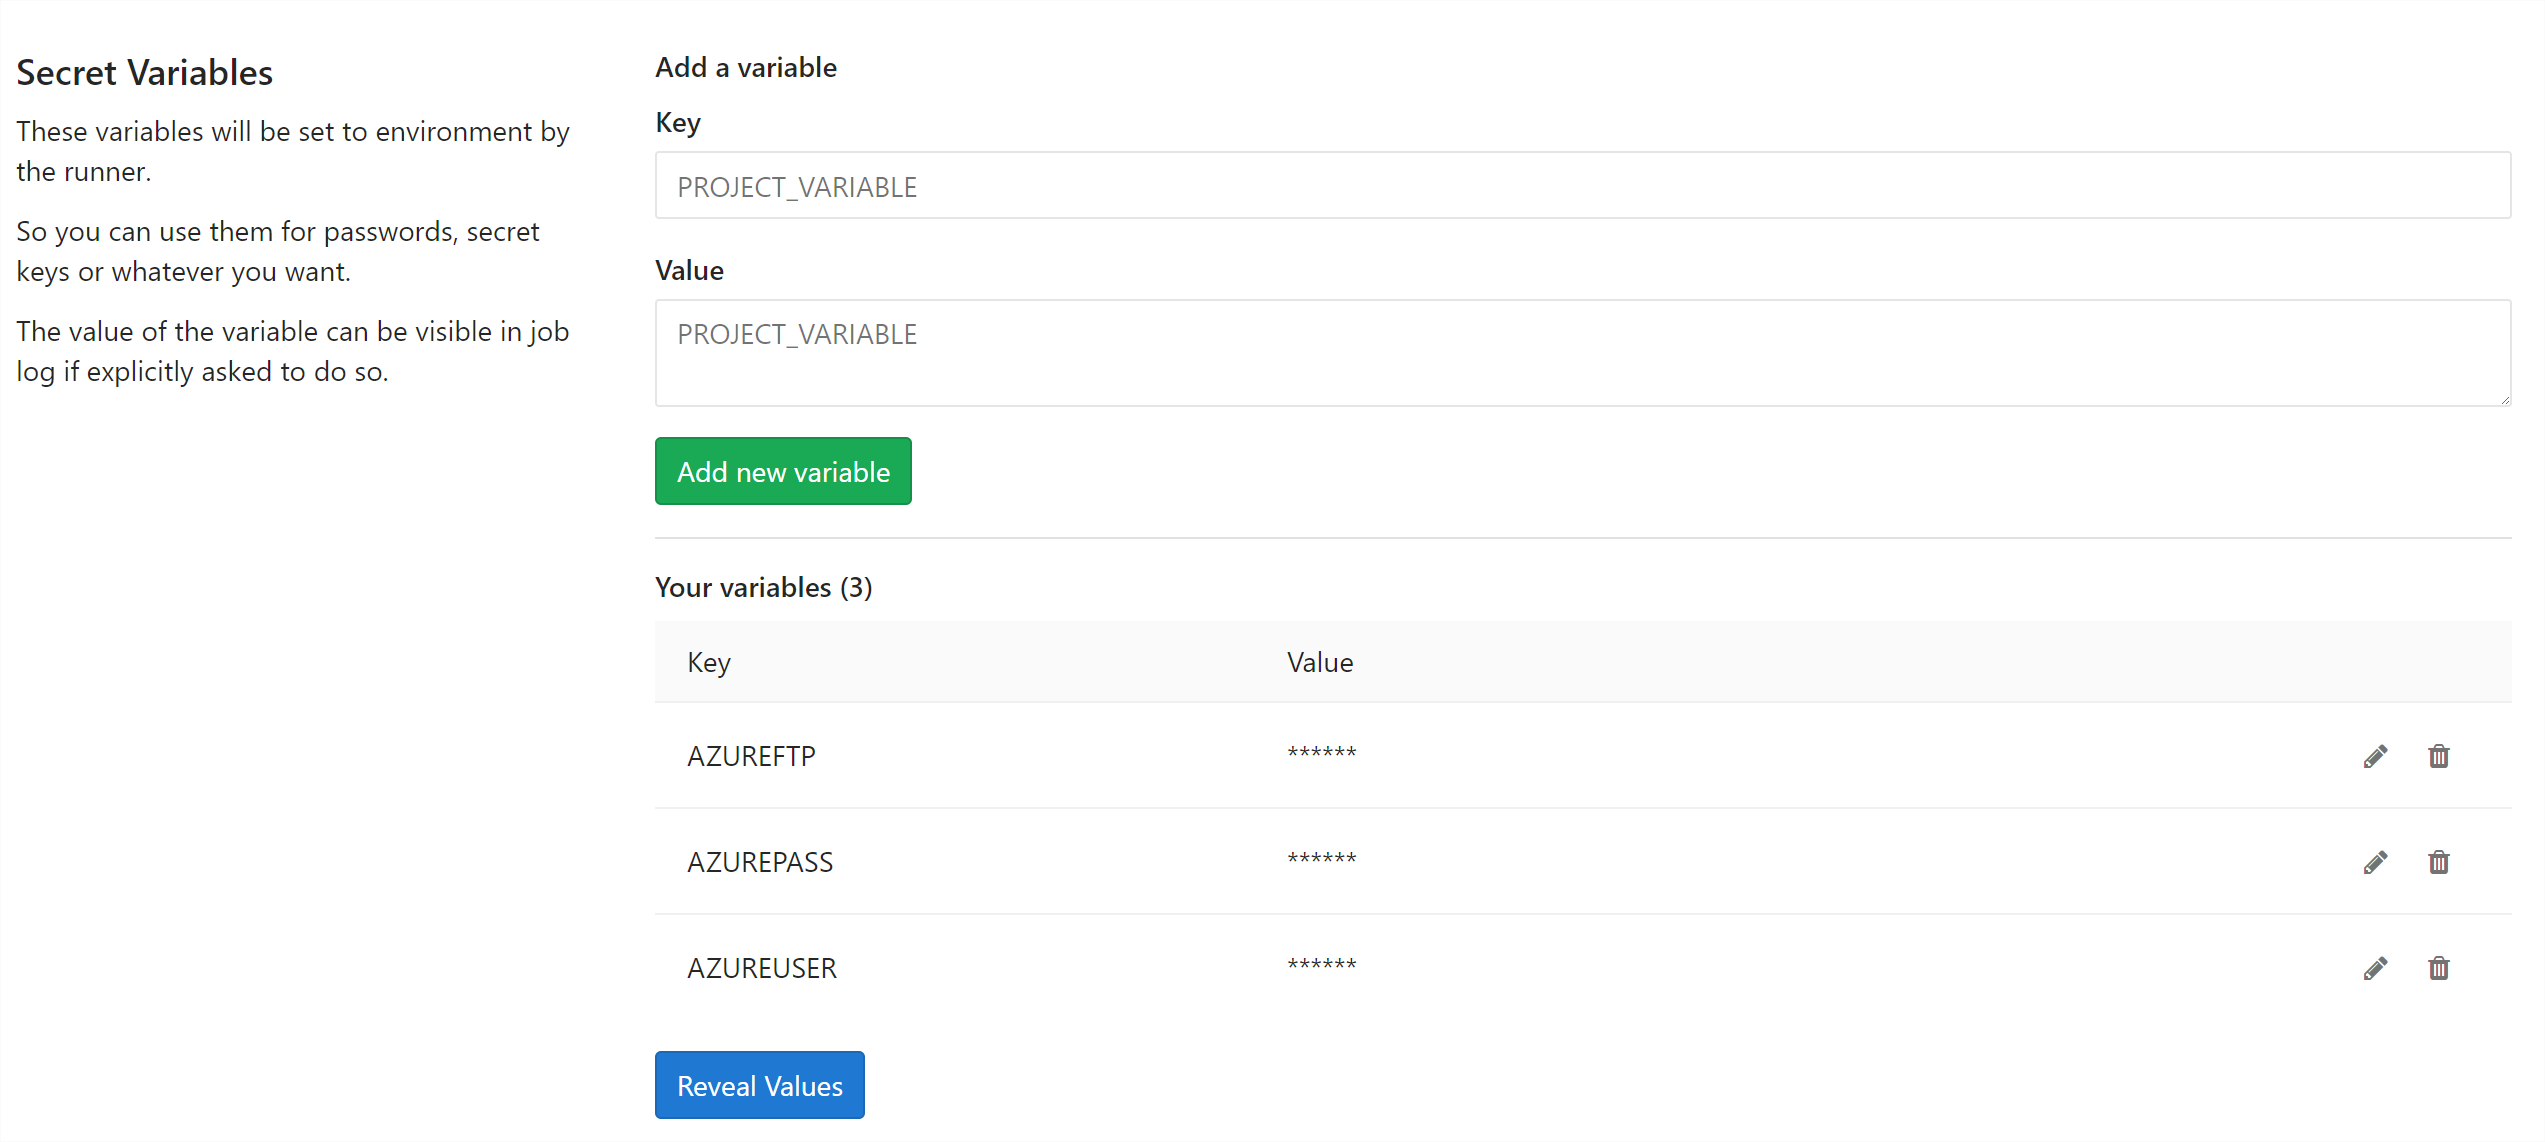
- You'll notice in the LFTP command, that there are variables for
$AZUREUSER,$AZUREPASS, and$AZUREFTP. These are secret variables we store in GitLab so that we don't have sensitive information checked into source control files. (NOTE: If you choose to echo commands using secret variables, it is possible to have their actual values appear in build logs.) - Finally, at the end of each stage, you'll notice an
onlyfilter. This tells GitLab's runner to only execute that stage for themasterbranch. Since we only have one branch in our example, it's unnecessary, but I included it because I thought it might be an important point worth mentioning. In addition to theonlyfilter, there's also anexcept. You can read more about how they work in the documentation.
In addition to the above, when your projects grow in complexity, you'll want to have GitLab execute your tests for you. You'll define it exactly the same way as above, using whatever commands you see fit. I'd recommend breaking up the test suite into a different stage, depending on your project needs.
So you have your .gitlab-ci.yml file. Let's go ahead and pull down the web.config file from Azure and add it to our local project. Crack open your favorite FTP tool (we used FileZilla in the previous part) to pull it in to the root. Nothing special here.
Your directory tree should look like this:
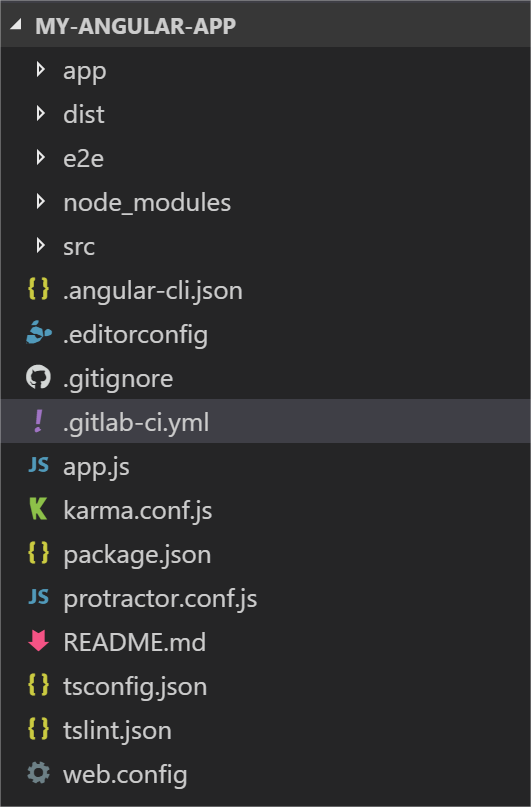
Feel free to take a peek at the web.config to see how Azure sets things up to run node on IIS (I know, I know... but, that's a discussion for a different day, let's stay on topic!).
Now we'll quickly make a change to our package.json to tweak the az-build we made earlier. Basically, we don't want to run our node server when we're only interested in building our app.
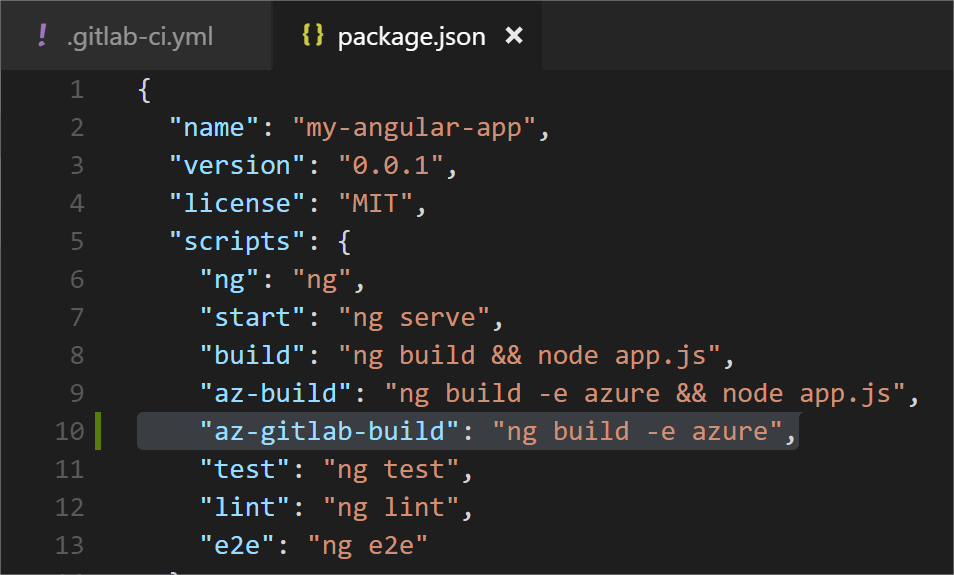
For our dependencies, let's stick with our package.json and add express, body-parser, and request by running npm install --save:
npm install --save expressnpm install --save body-parsernpm install --save request
Now when we have GitLab run, it'll have everything it needs in order to install our app for it to run.
Let's go to GitLab and add our secret variables. You'll find this under "Settings" and "CI/CD Pipelines". Scroll down a little bit and you'll see an option to key them in:
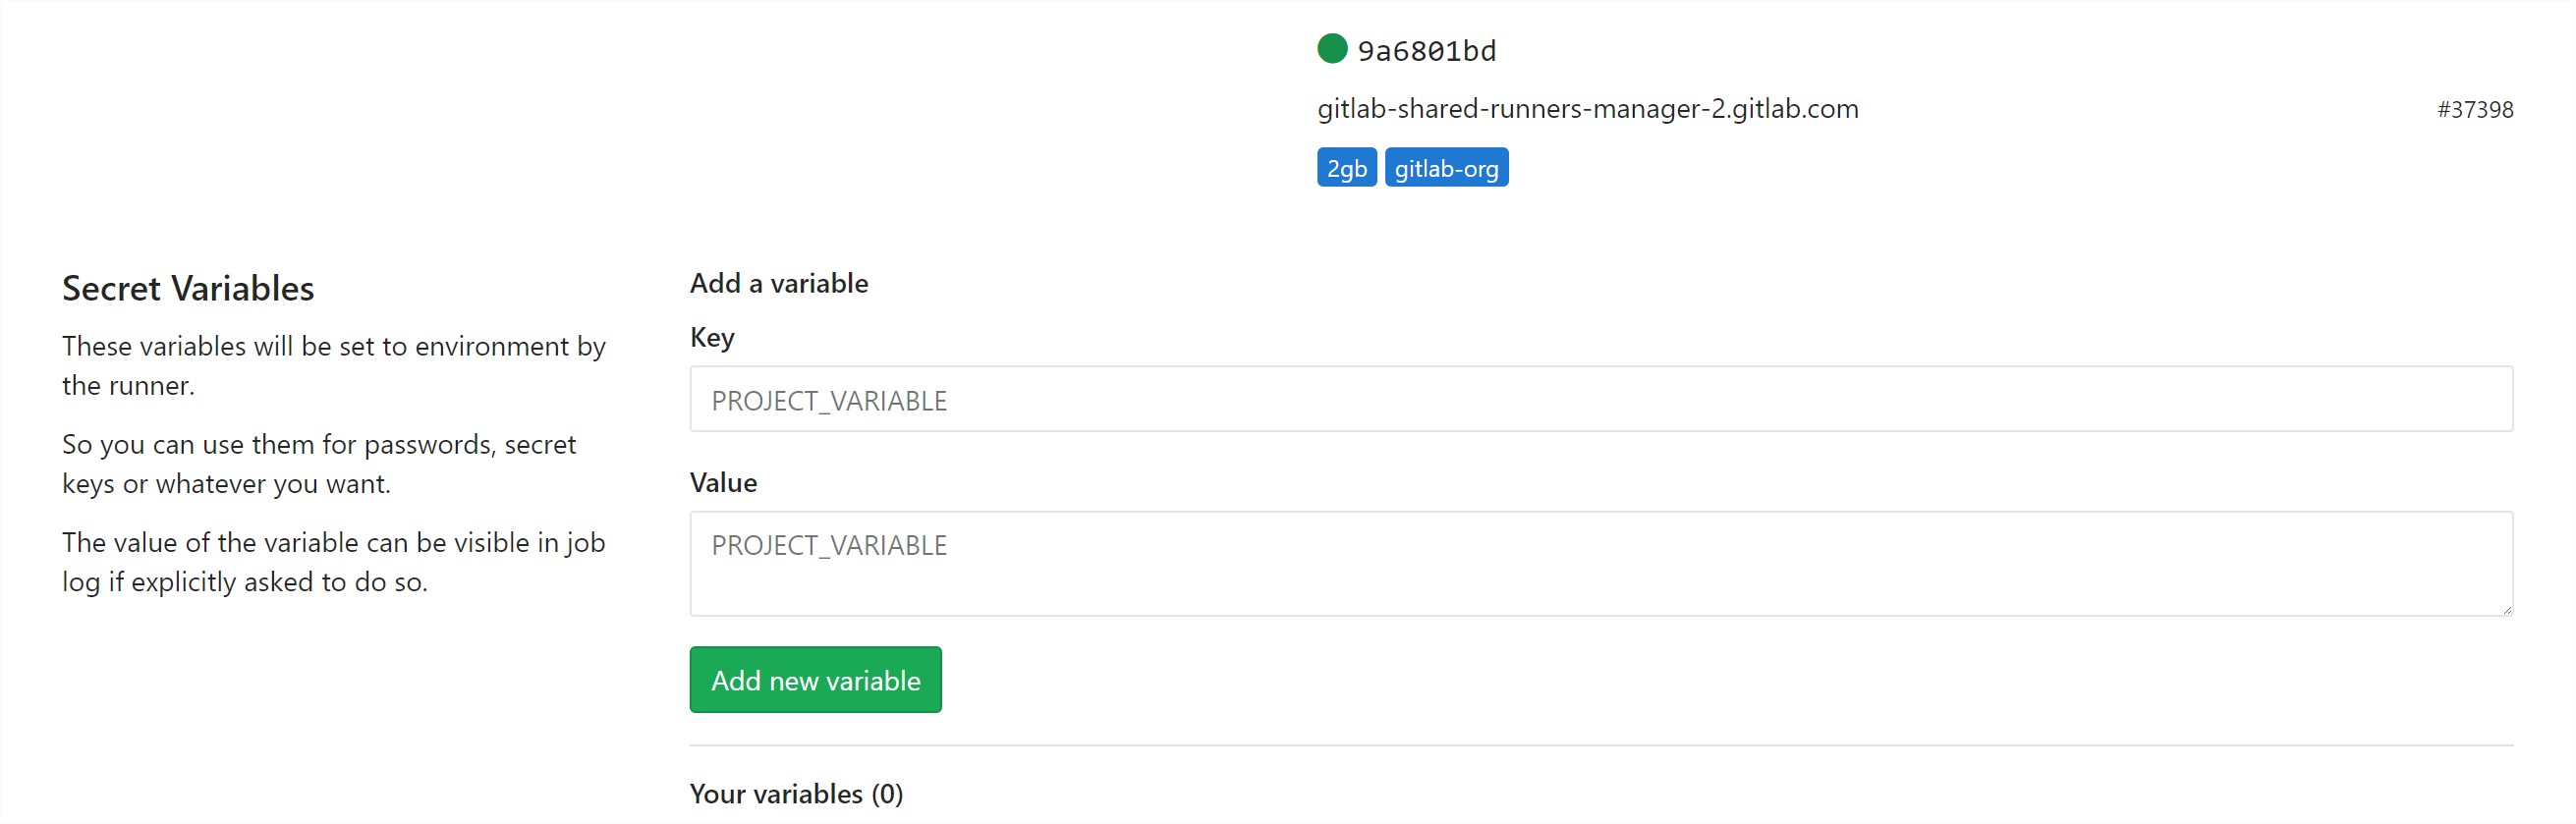
In this example, I'm going to use my account-wide FTP account. If you choose to use the site-specific account (prefixed with a $), bear in mind that if you use it directly in GitLab's .yml, you'll need to escape it with another $.
Also, when you enter the key for your value, it doesn't need to have a $ in front. So you'd key in AZUREUSER and then reference later as $AZUREUSER.
With our .gitlab-ci.yml file defined and our secret variables set, all that's left is to remove the build dependencies from source control. Go back to your .gitignore file and make sure that the lines we commented out earlier for the /dist and /node_modules folders are present.
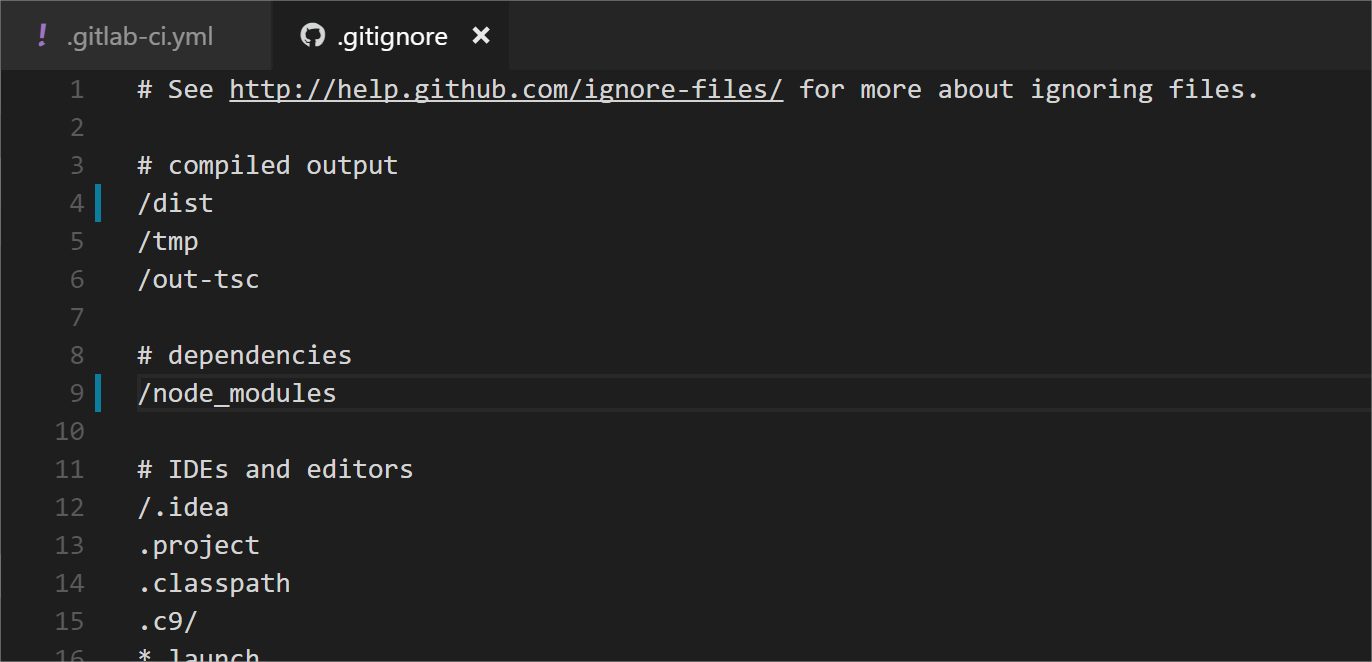
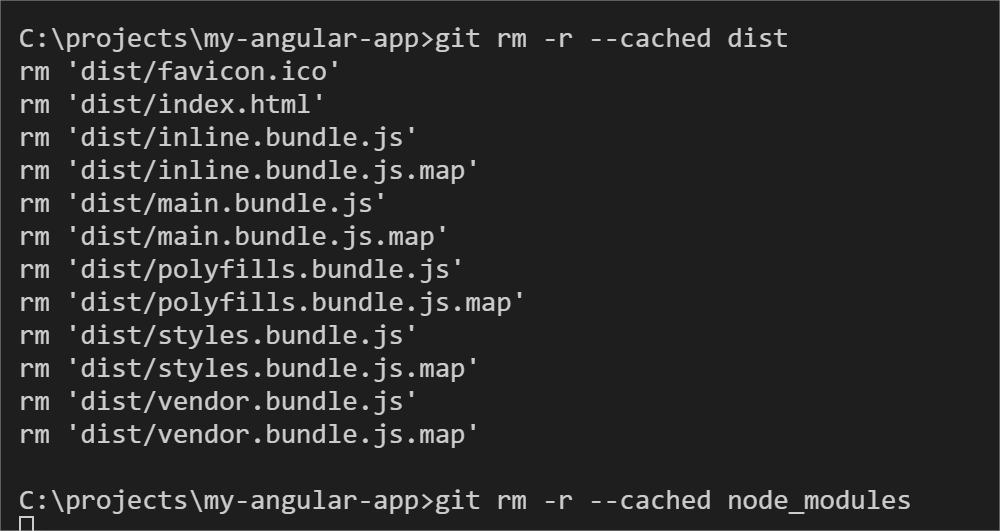
Save it and then remove those two folders from source control via our trusty, plain-old git command: git rm -r --cached.
Commit your changes and push them up to GitLab. GitLab will automatically see the .gitlab-ci.yml file and begin processing it. Since we're using the shared runners, your job may pend, but it'll start running once resources free up.
Special Note: If you enter [skip ci] or [ci skip] in your commit message, GitLab will not run your job. That's explained here.
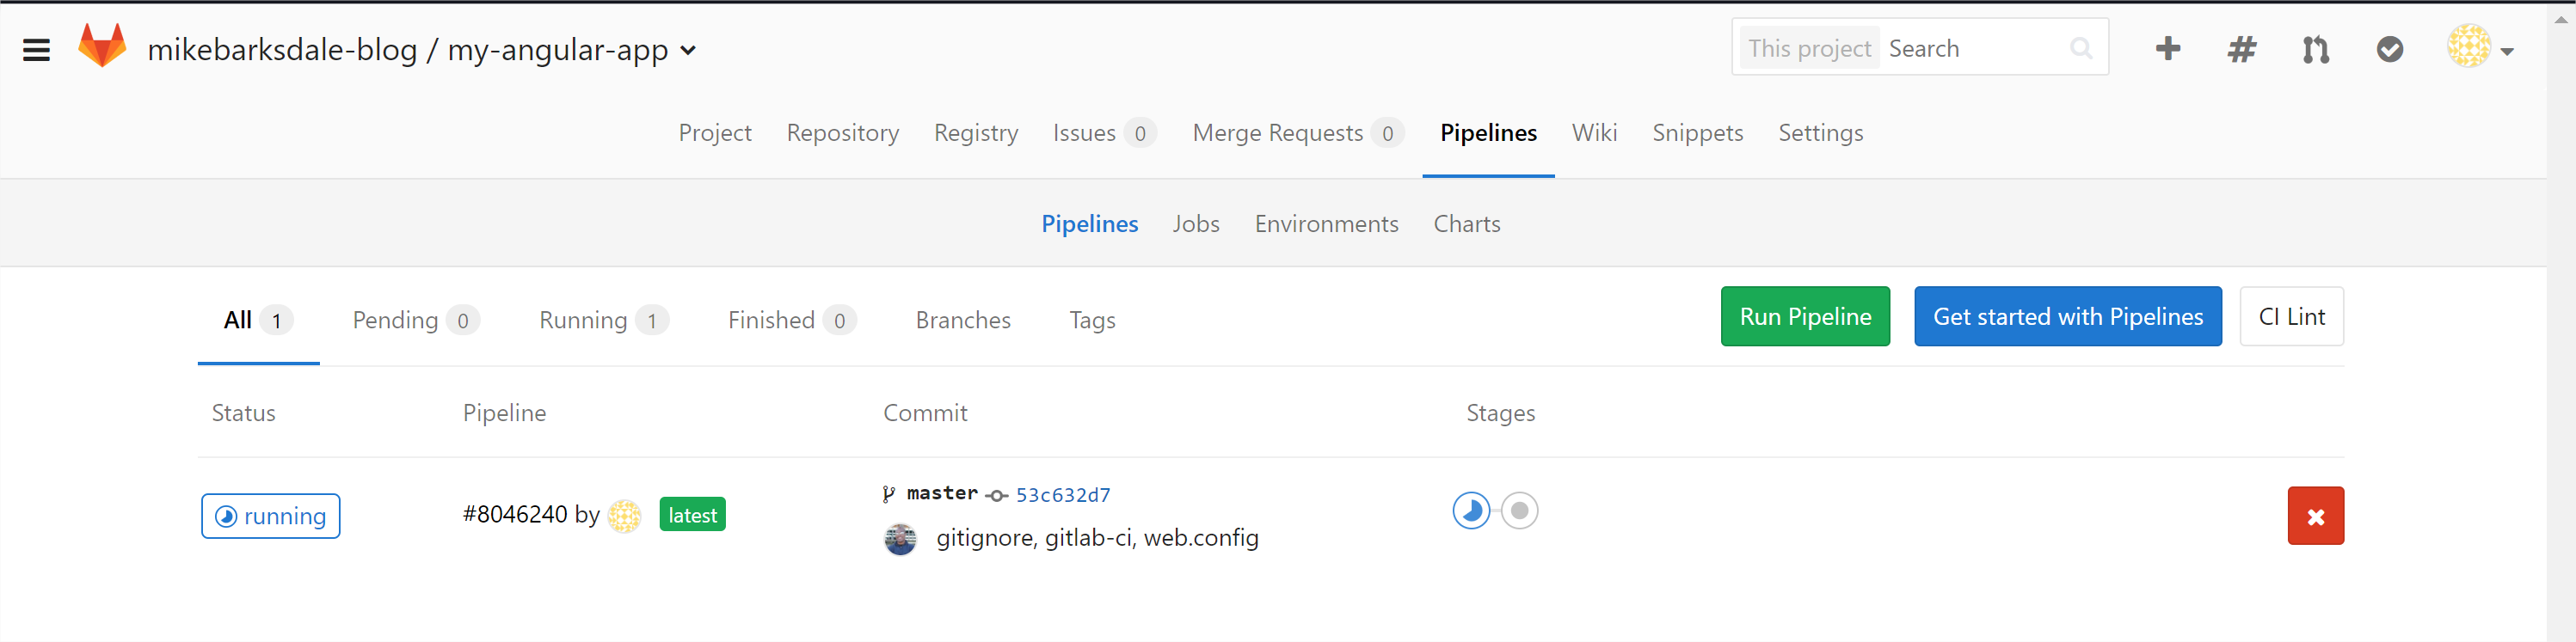
Now go to the "Pipelines" section in GitLab to see your job running:
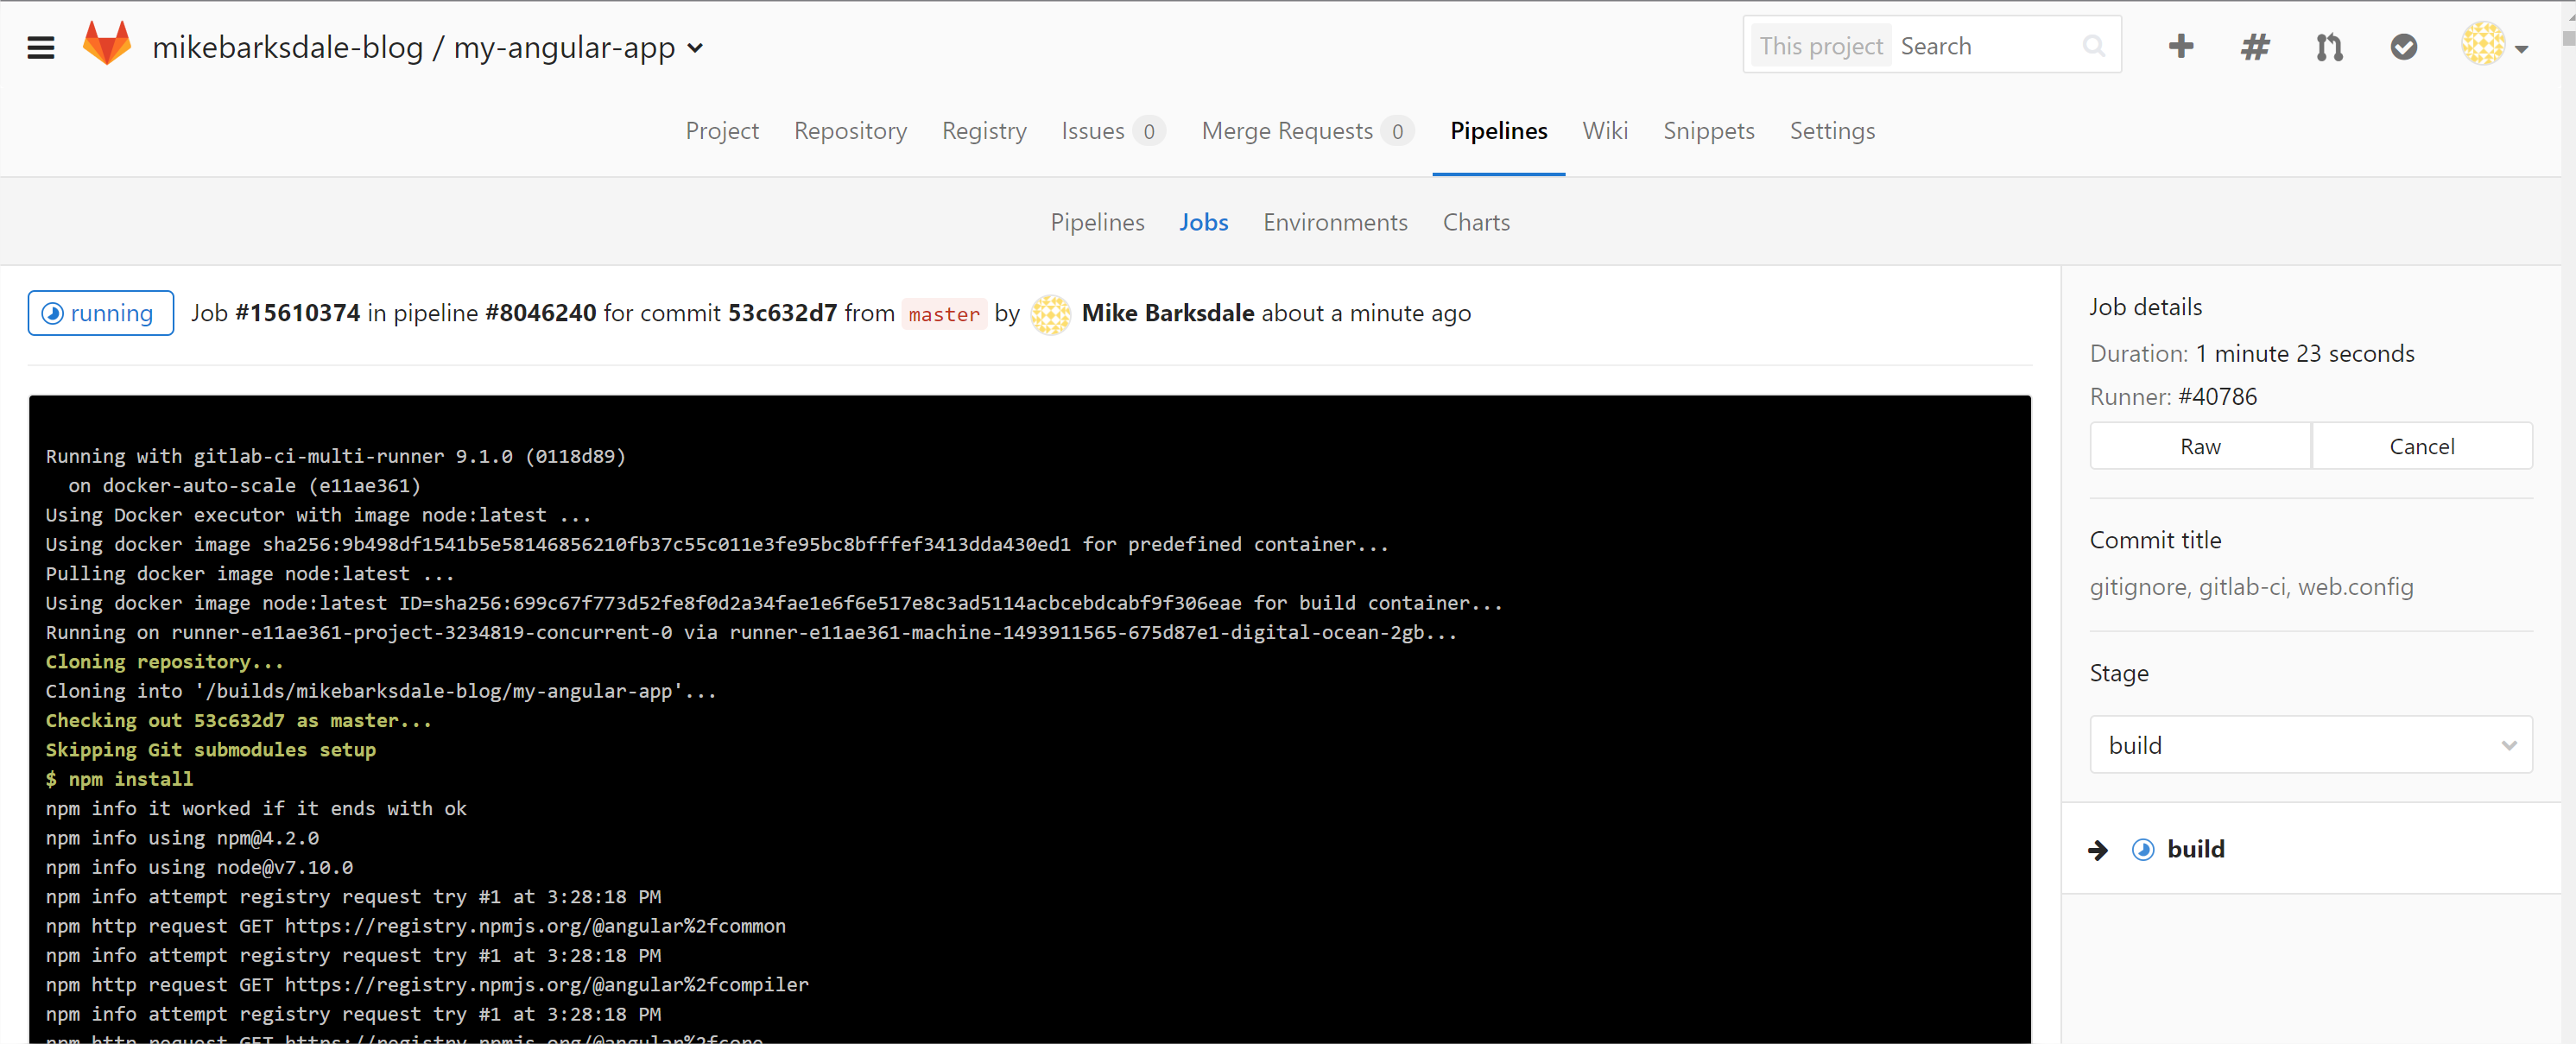
You can also drill down and see the logs as it runs:
As a side note, let's discuss the LFTP command in the .gitlab-ci.yml file: lftp -c "set ftp:retry-530 (.*?); open -u $AZUREUSER,$AZUREPASS $AZUREFTP; mirror -Rnev --no-symlinks --parallel=24 . /site/wwwroot":
- First, we're telling LFTP to retry any 530 errors (login failures) that it may receive. In my testing, I've seen this sporadically appear and cause a file not to transfer.
- Second, we open up a connection with our credentials that we defined in a secret variables on GitLab.
- Third, we tell LFTP to mirror the directory we're in.
-Rtells it to sync files from our source to the destination (pushing files up instead of pulling them down),-nspecifies newer files get moved,-edeletes files at the destination that aren't at the source, and-vis the verbose parameter, so you can see all of the files that transfer.
The man page for LFTP is here: https://lftp.yar.ru/lftp-man.html.
Additionally, in my testing, this command causes .gitlab-ci.yml to report an exit status code 1 which is interpreted as a failure. However, if you FTP in to your site, you can clearly see that all of the files have moved successfully (and also reported via the verbose parameter above).
If you don't want to see the red 'X', simply add the following to the deploy stage: allow-failure: true. It'll leave a warning, but the overall job will report as successful. Obviously, if something else went wrong, you would still be reported as successful. Use at your own risk.
With all that being said, when it's finished, your files should have moved over to Azure and, because the web.config was replaced, the app gets cycled. Browse to your site and see the results:
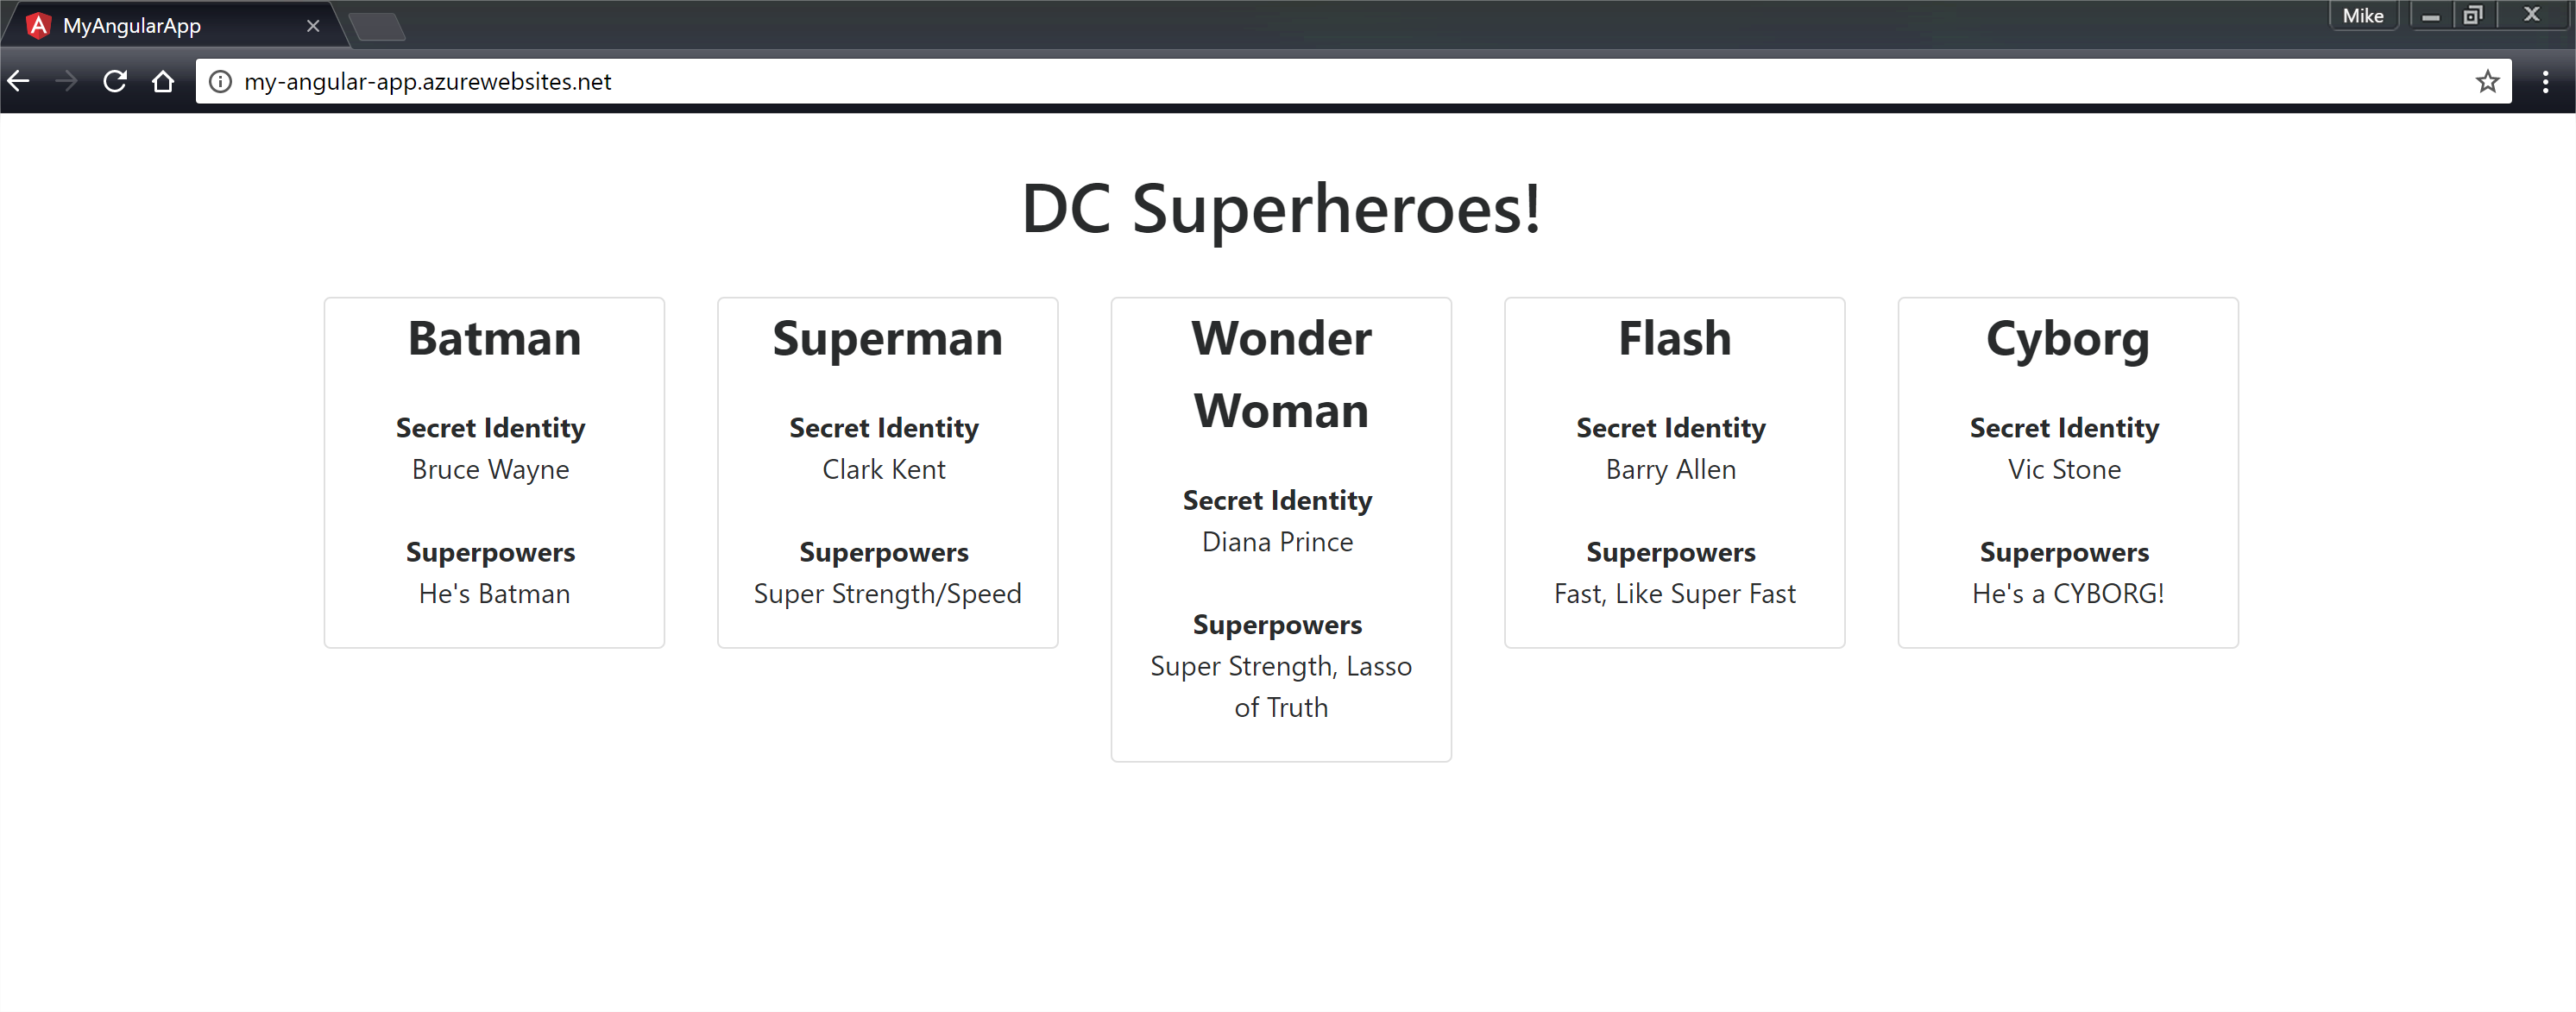
Huzzah!
Now that's better. No hard dependencies or build artifacts directly in source control and what's deployed is only what we need. Best of all, it not only works on our machine, but also builds and runs elsewhere.
