Angular 4, Node, and Azure: Part 2


In the previous part, we created an Angular 4 app with a node.js backend. It builds and works on our machine. While that's all well and good, it would be better if we can get it running on something else.
Let's do just that.
We'll deploy our app to Azure via a couple of different methods. After each method we'll go over the pros and cons.
When we created our Angular 4 project in part one, the ng new command also initialized a local git repository for us. We'll use that and the Azure CLI to create some resources on Azure and deploy our application.
First, we'll walk through the process using the CLI, and then jump into the Azure portal to see what we created.
Before we proceed, you'll need to have an Azure account (a free one will do) and the Azure CLI 2.0 tools installed.
As always, I'll wait (and watch another gif) while you get those items configured.

All set? Great!
So, via a terminal in Visual Studio Code (or your favorite terminal tool with access to your node environment), you'll want to login to Azure so that the CLI tools have your account context. This is important because we'll be creating resources.
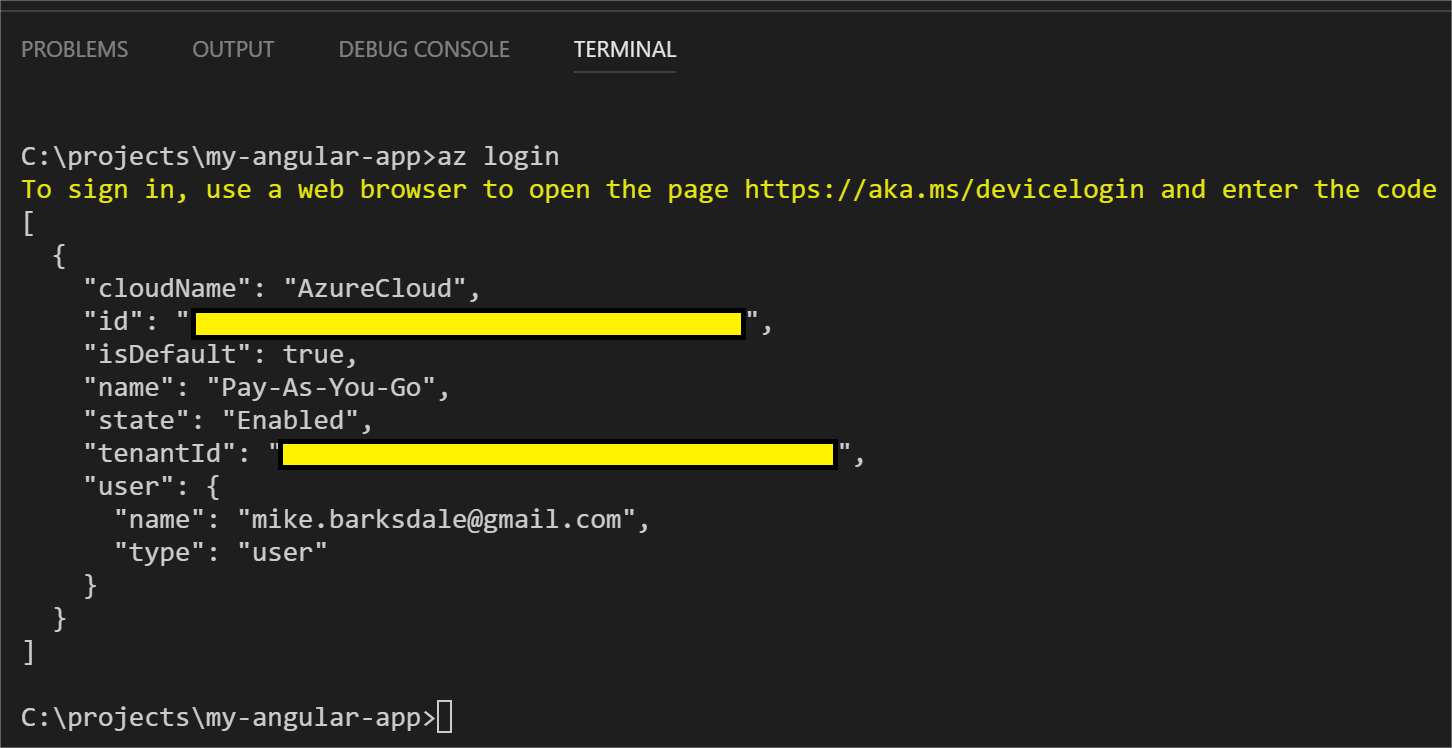
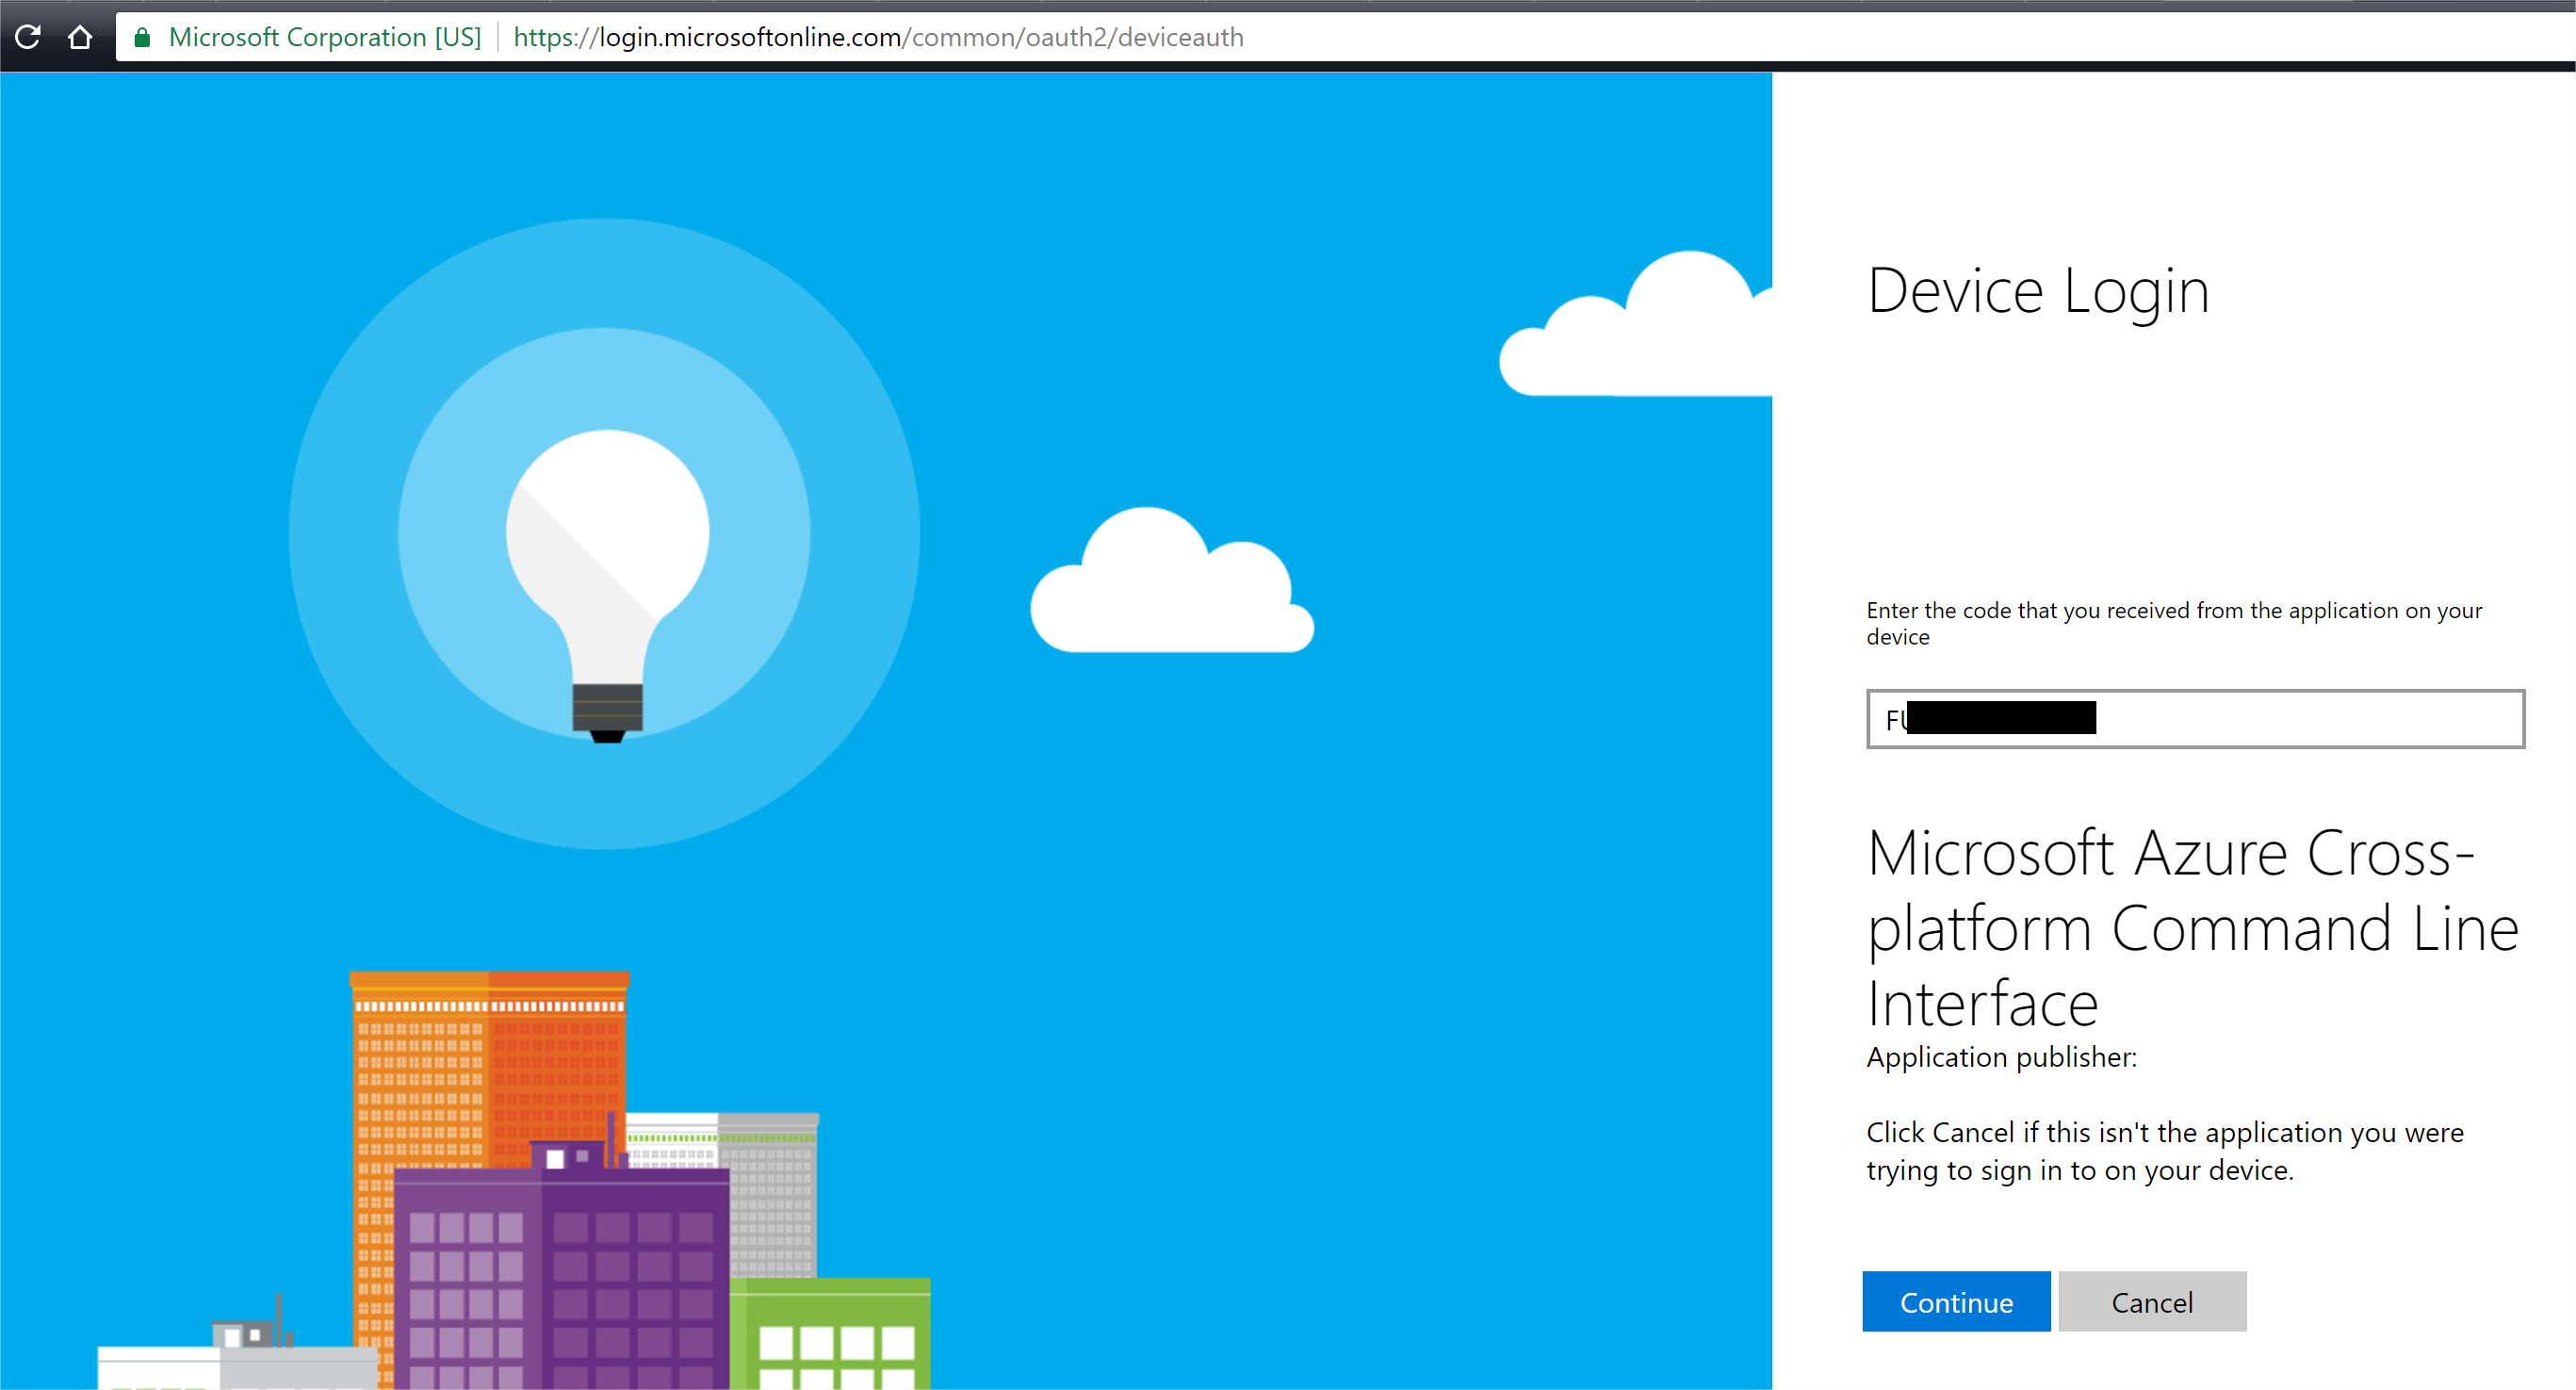
So first, enter az login and hit enter. After a moment of thinking, you'll be given a link and a code to enter. Copy the code, follow the link, and enter the code.
Through the process, you'll see that the terminal has output the result of the login process.
Once you've logged in, you can close the login tab in your browser.
Now to create some resources. Here's what we'll be doing:
- Configuring a deployment user. This user will be the one that will be associated with our git repository (and FTP access, more on that later).
- Creating a resource group. It's name is exactly as it sounds, all of your resources roll up to a group.
- Creating an azure app service plan under the resource group we've created. This plan will specify the pricing tier and features we'll be able to use.
- Creating an web app associated with the resource group & plan. This will be our actual app. This will be the app we started in part 1.
Let's go in order.
Create the Deployment User
To create the deployment user, use the command:
az appservice web deployment user set --user-name <username> --password <password>
The username and password are set at the account level and are separate from your Azure login credentials. So if you end up creating another app service, it'll use the same web deployment user. Make sure the username is unique, otherwise you may end up with some obscure error.
Create the Resource Group
Now let's create our resource group. They are separated by region, which you can list via the command az account list-locations. Specifically, you'll want the name value when specifying the region you'd like your resource to be setup in. Given my location in the country, I'm going to choose eastus:
az group create --name my-angular-app-resource-group --location eastus

Of course, you can call the resource group anything you'd like (and it doesn't have to be hyphenated).
Create the App Service Plan
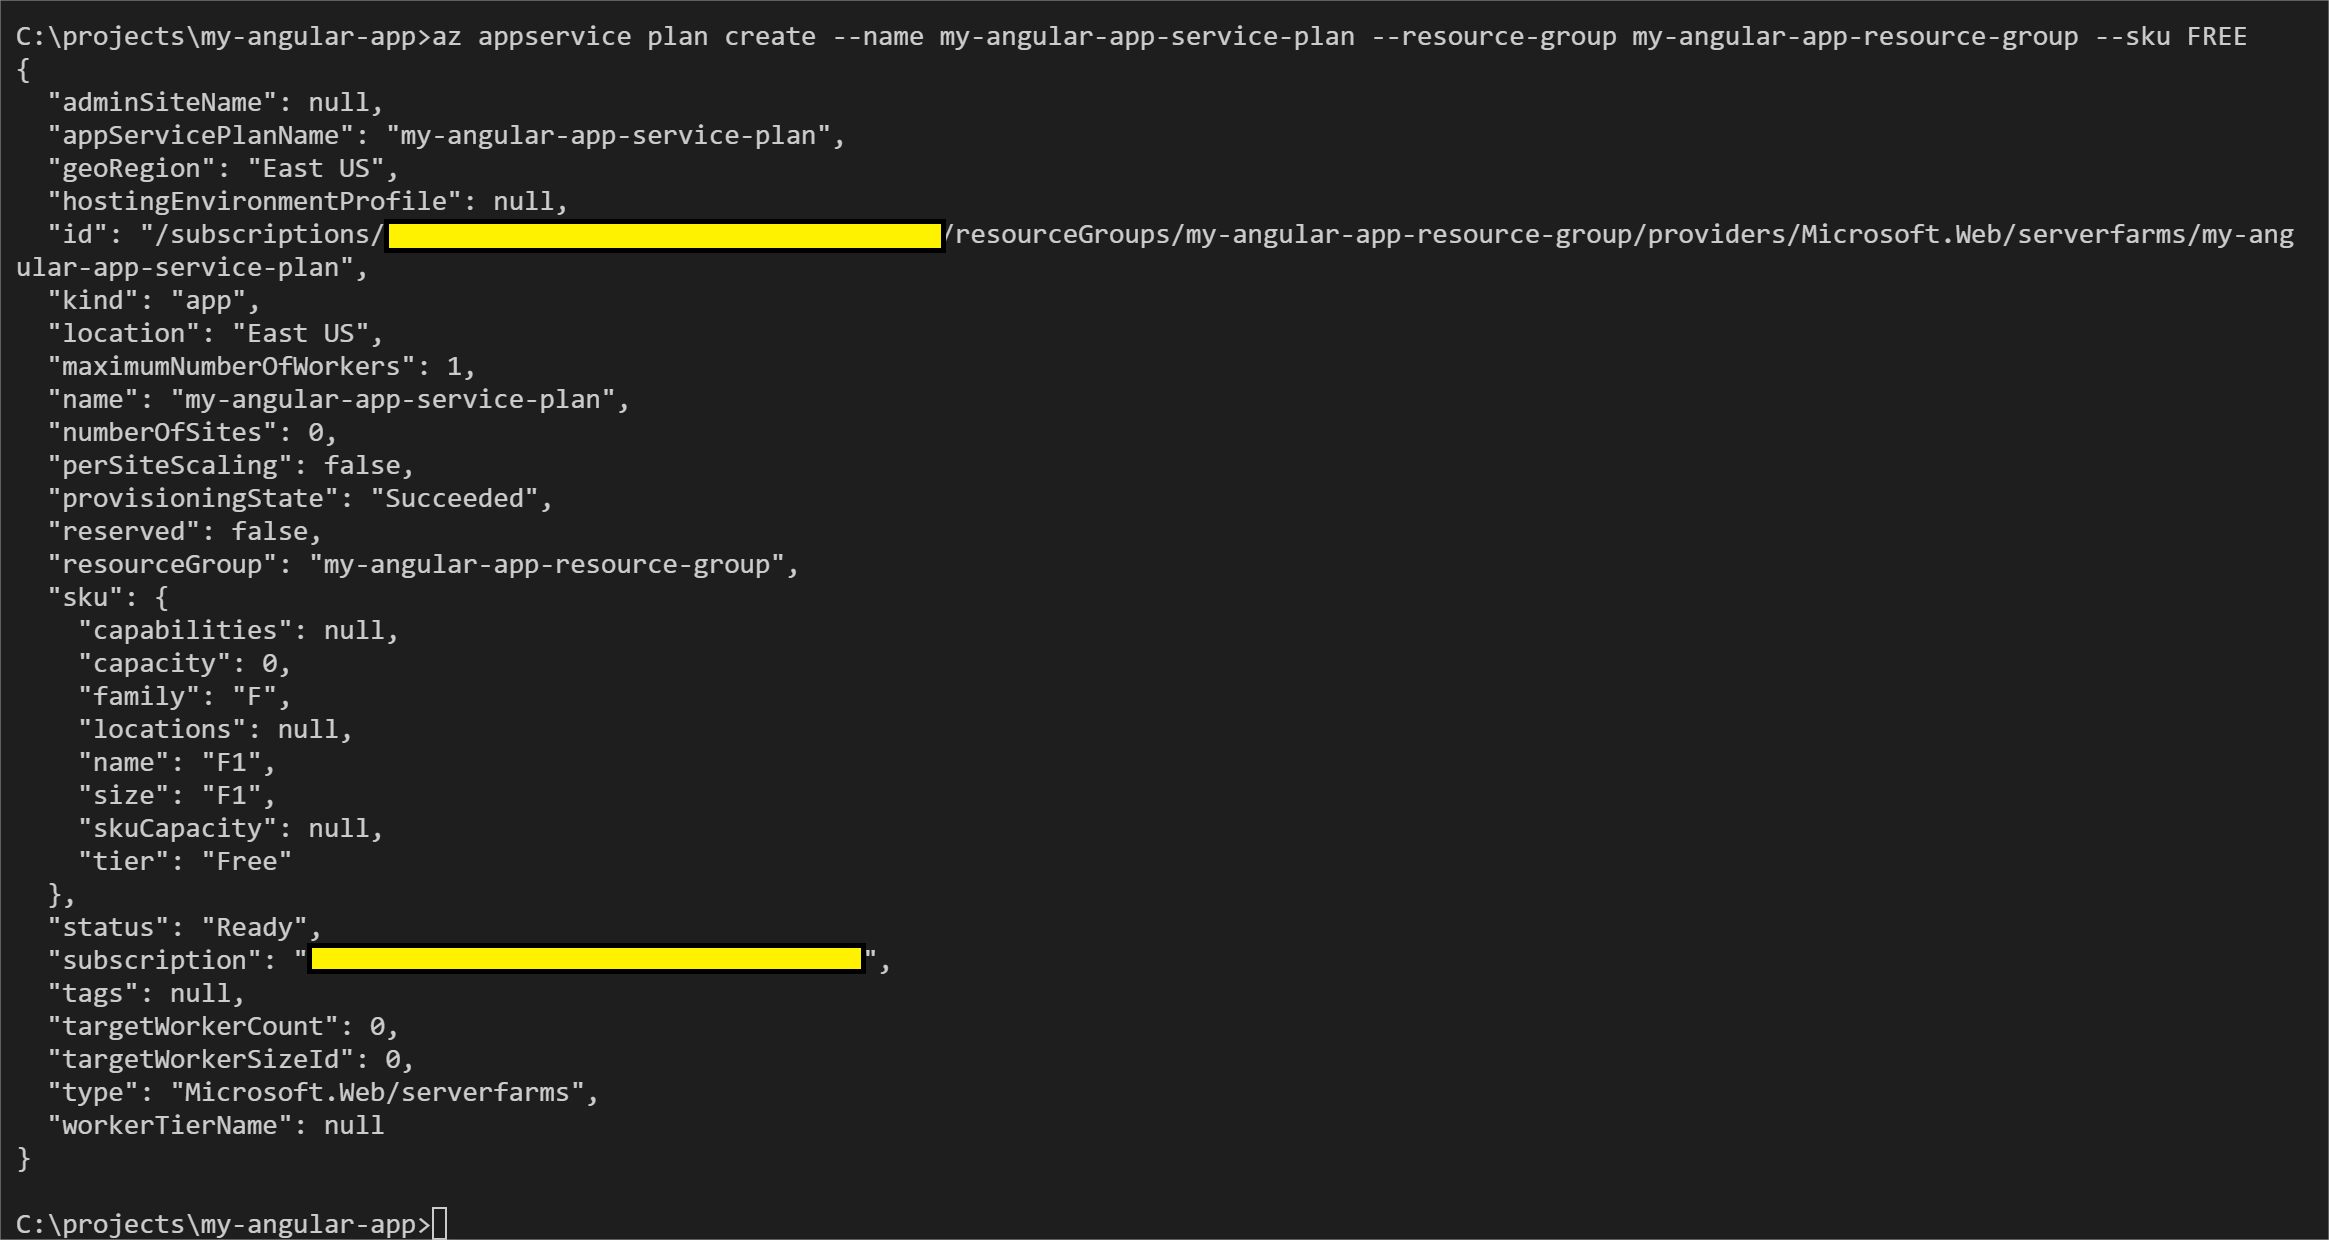
Creating the app service plan is another quick command via the CLI: az appservice plan create --name my-angular-app-service-plan --resource-group my-angular-app-resource-group --sku FREE
Important note: make sure that the resource-group name matches the name you used in the previous step. You'll also note that the sku we're using is "FREE". This is the free tier.
Create the Web App
Almost there. Now we create the resource that will actually execute our code. Same naming conventions apply here (mostly, make sure it makes sense to you):
az appservice web create --name my-angular-app --resource-group my-angular-app-resource-group --plan my-angular-app-service-plan
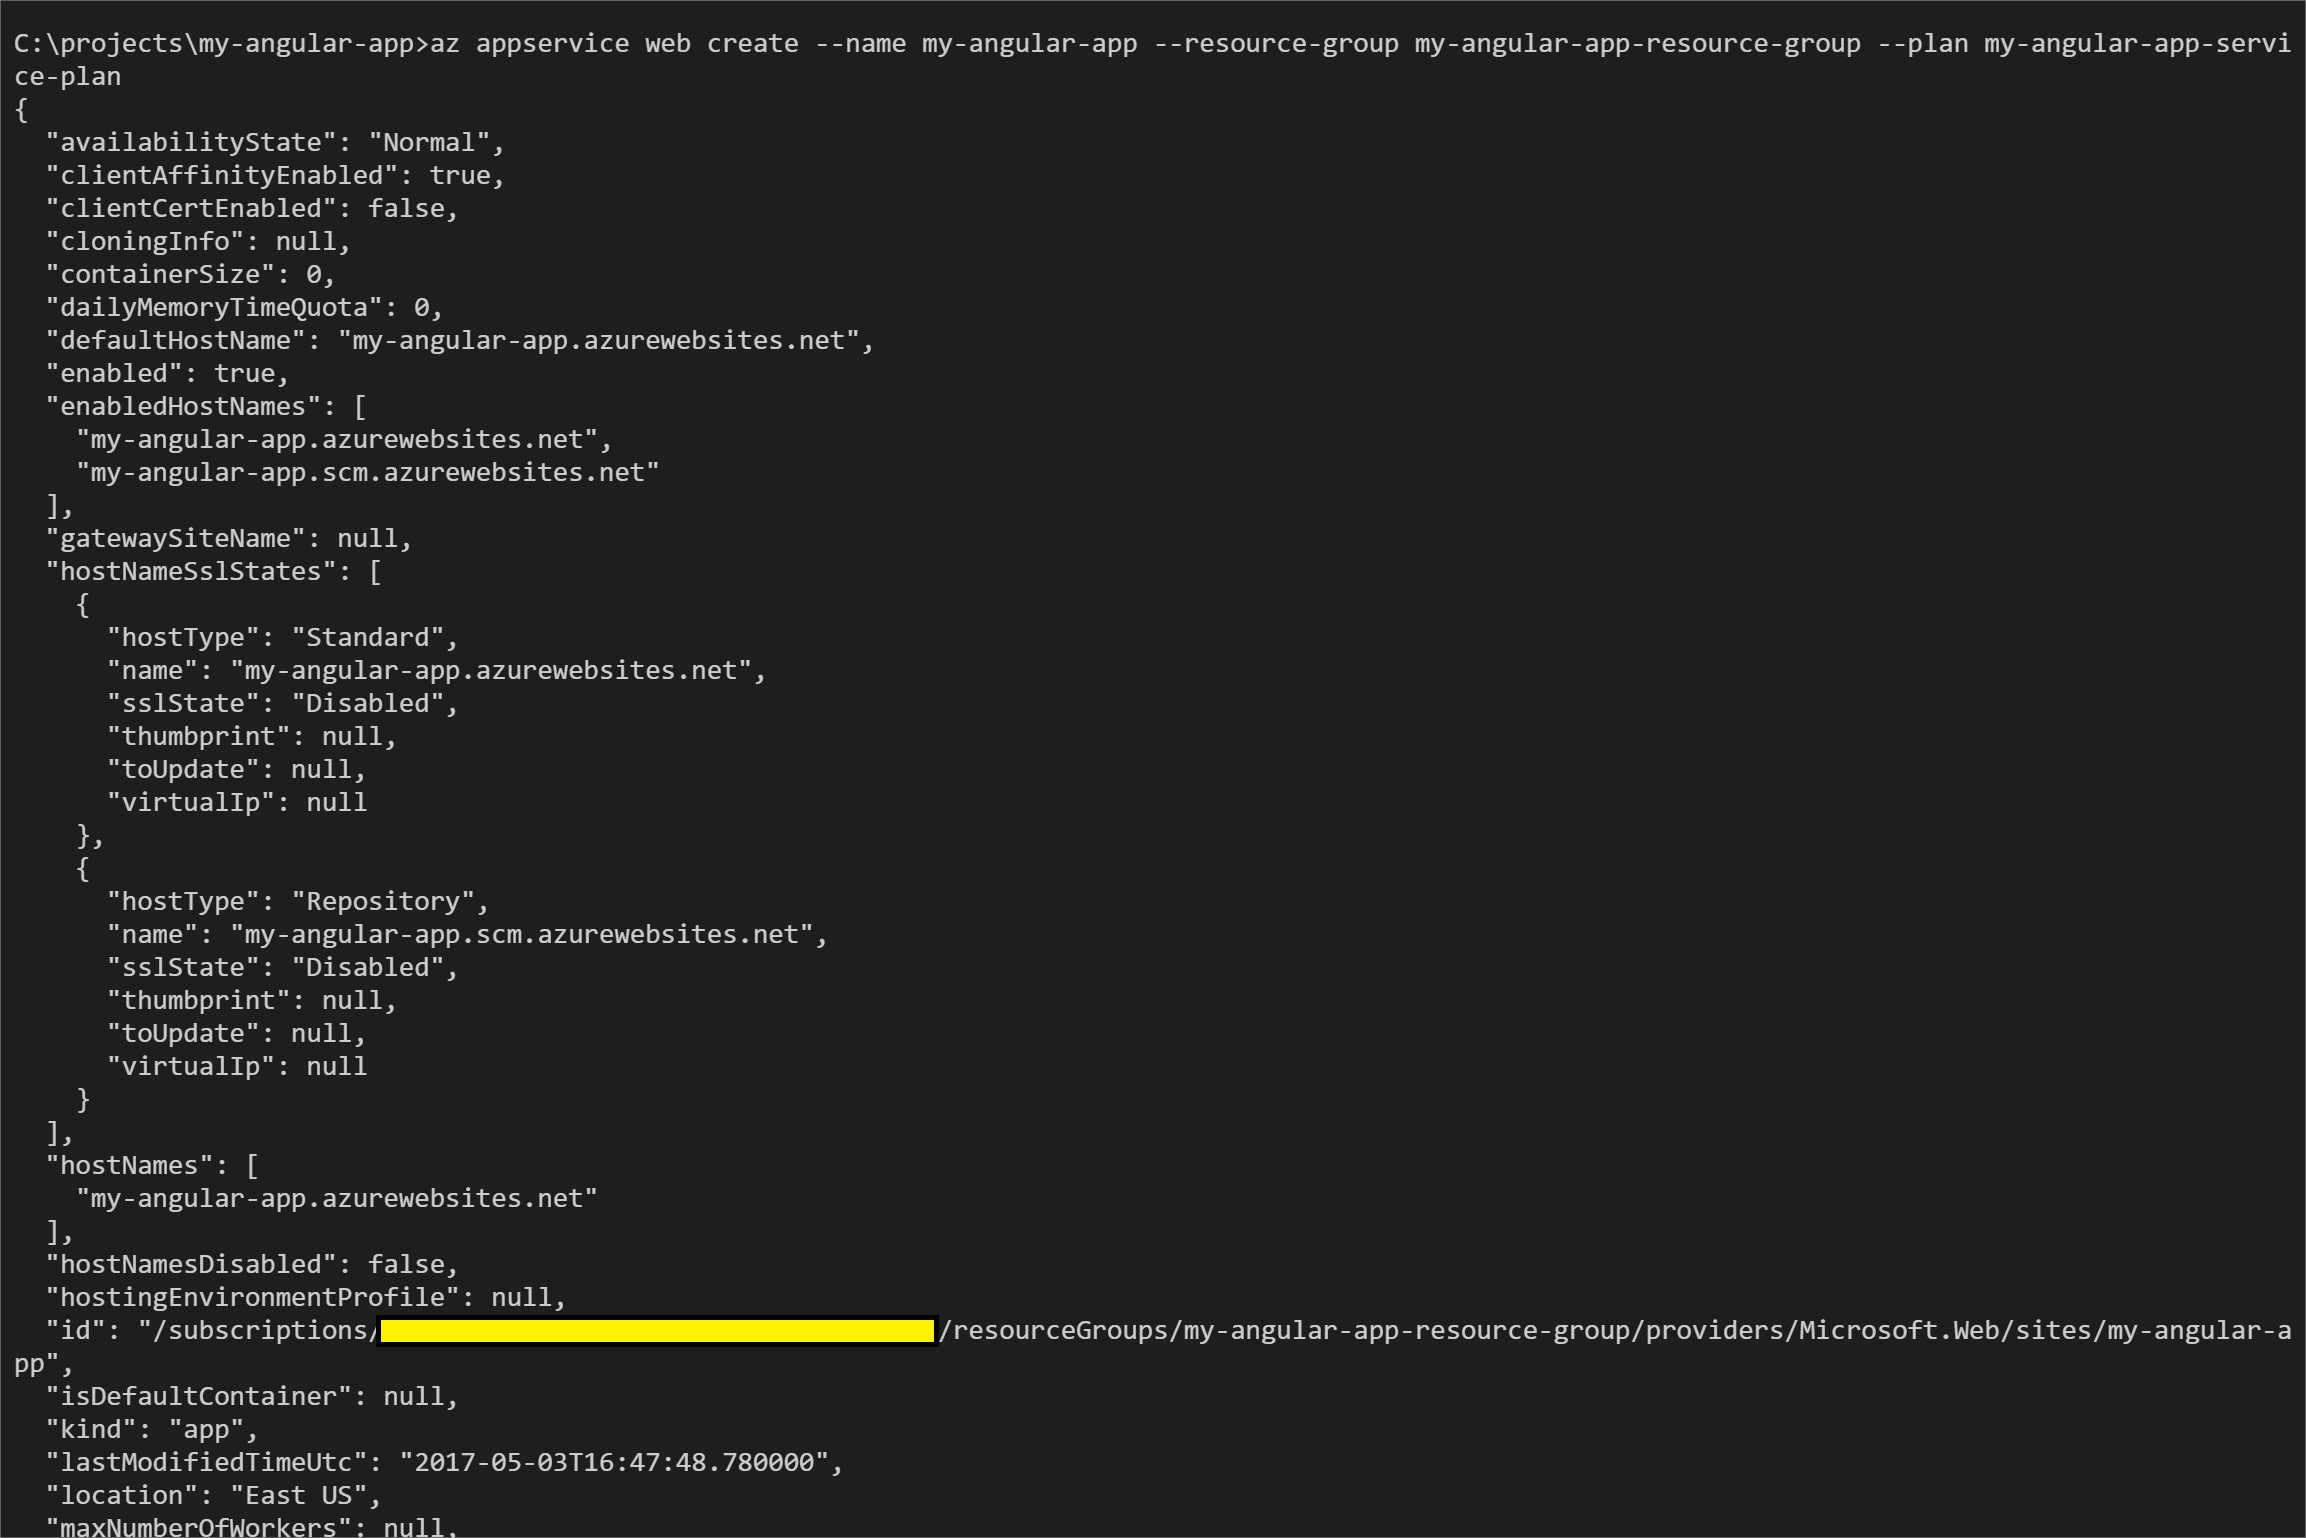
Now the app has been created. We can browse to the name that it gave us under enabledHostNames: my-angular-app.azurewebsites.net. Of course, this will be different for you based on whatever name you decided to give to your app.
Here's what we get:
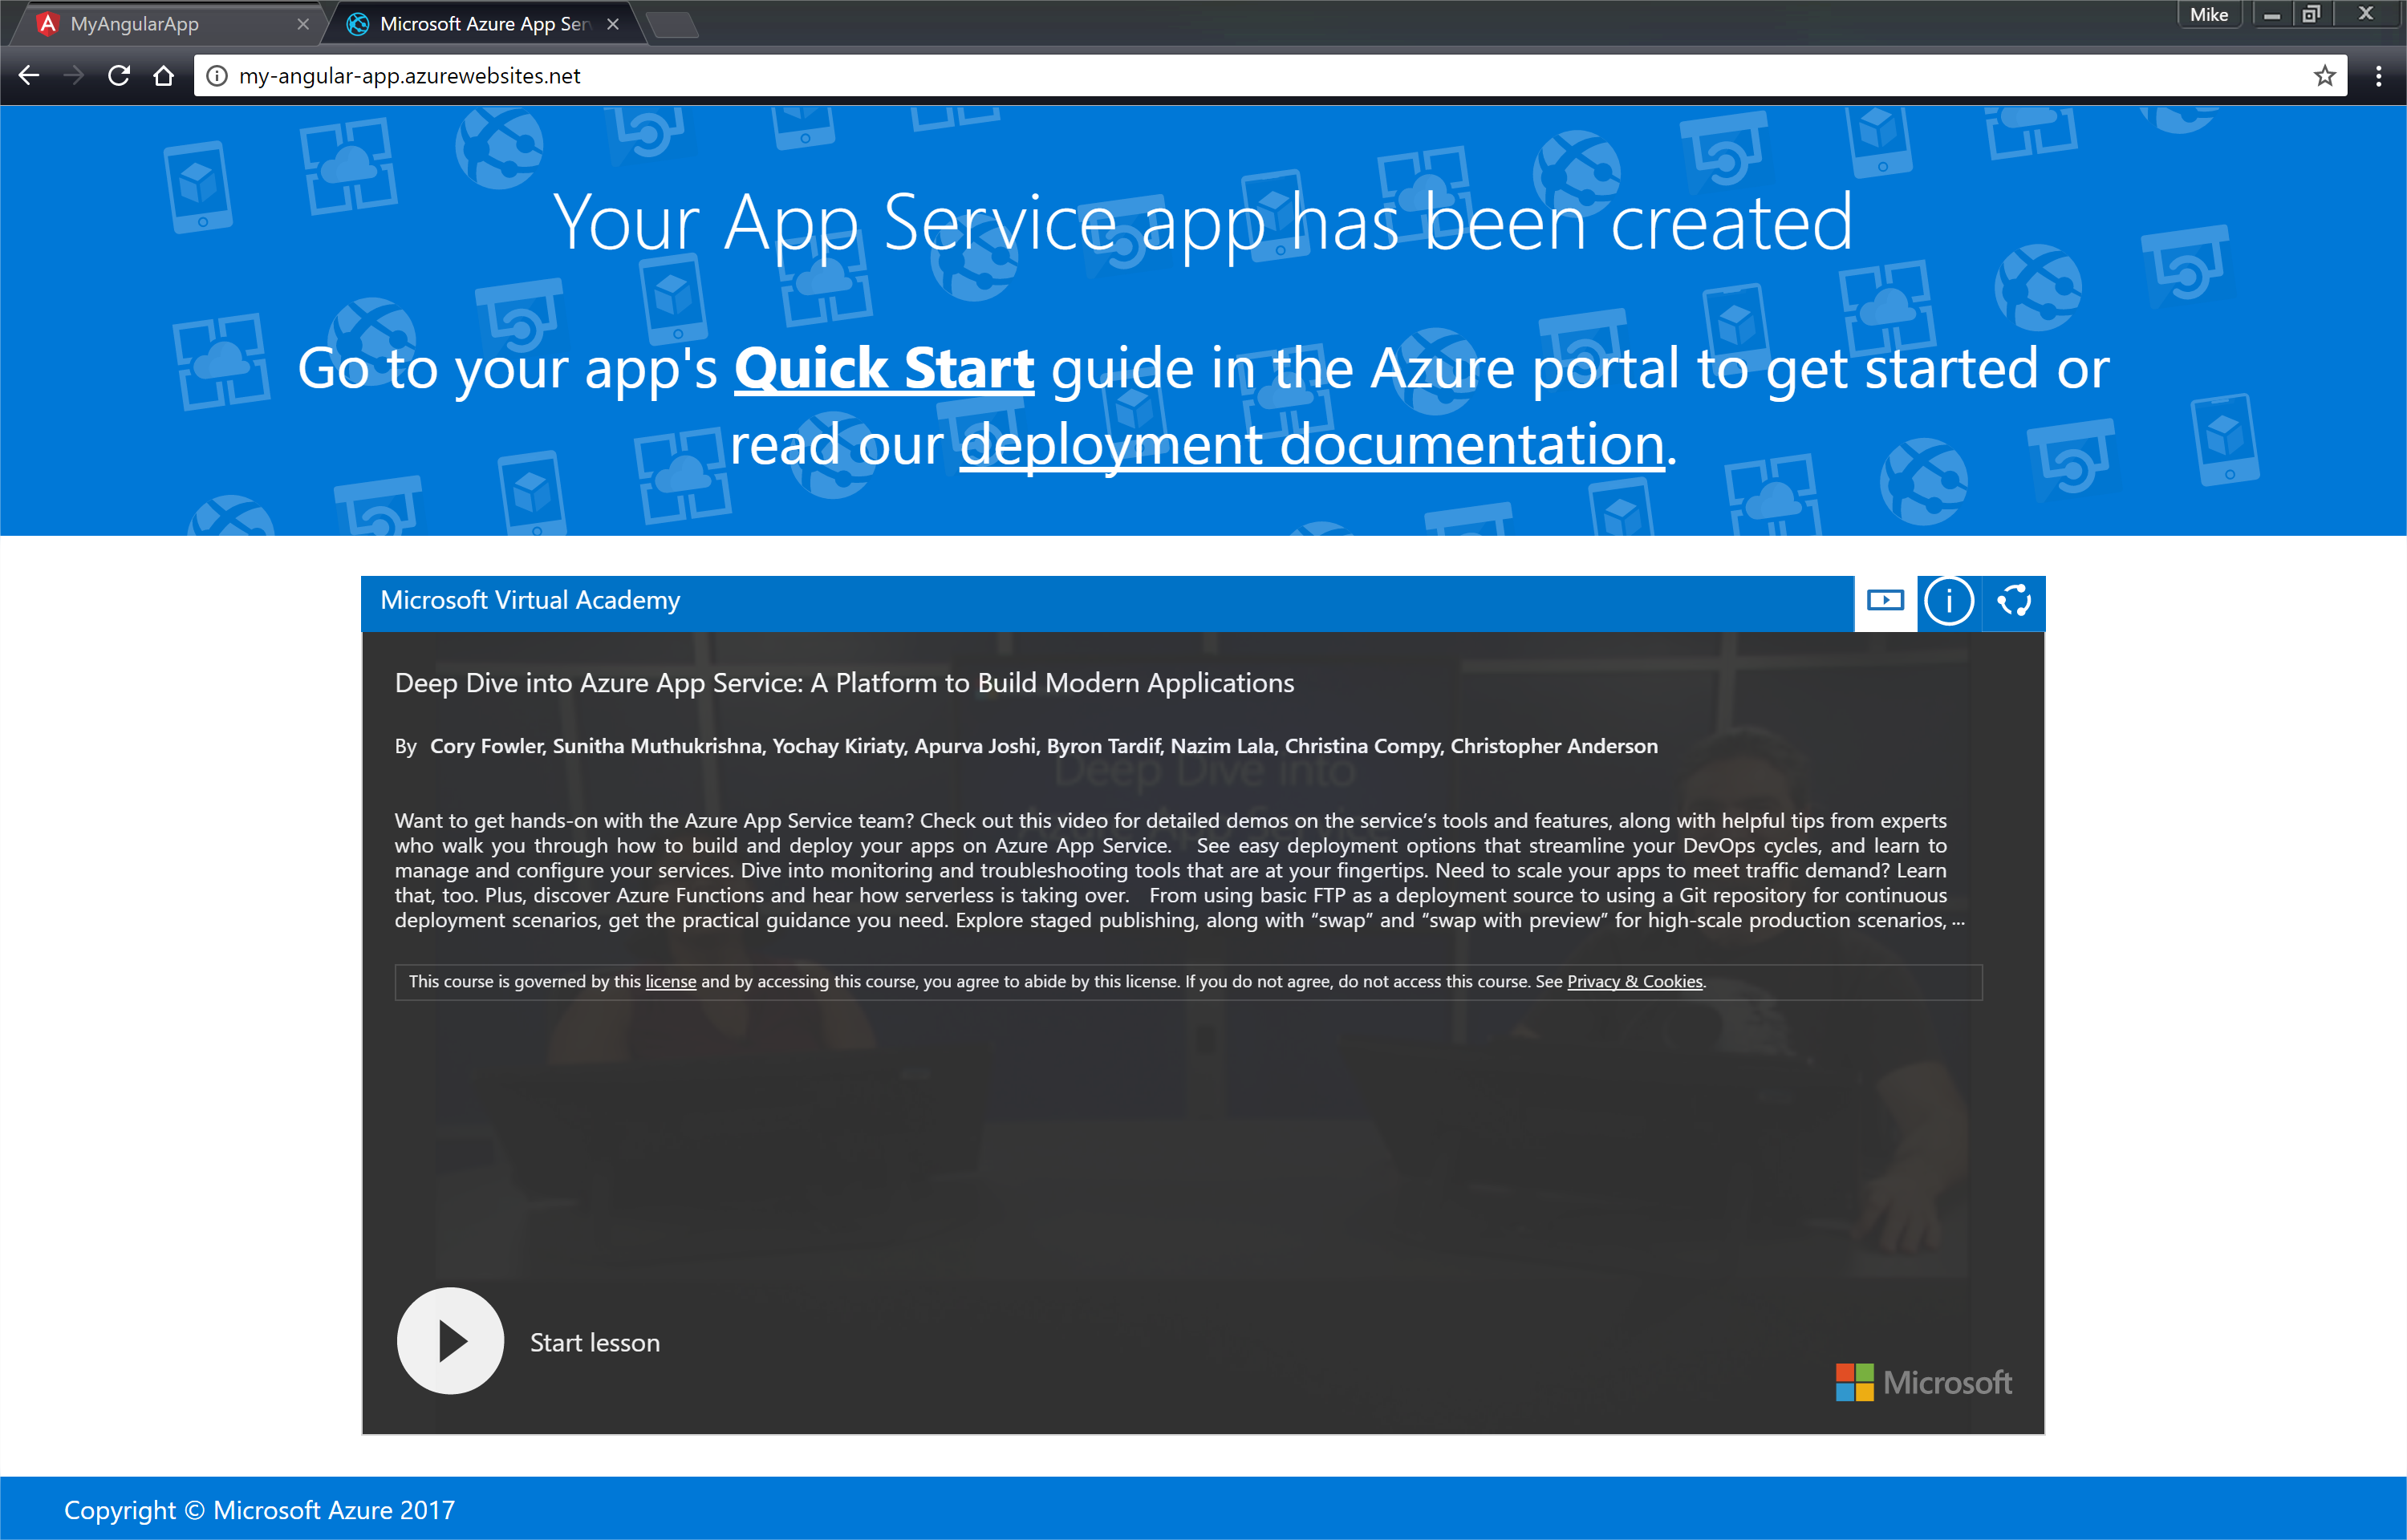
Neat, right? With just a few commands on the command line you've got a site up and running on Azure. Let's crack open the Azure portal to take a look at what our resources look like in the GUI.
Navigate to https://portal.azure.com and login.
You'll be greeted with the dashboard. It looks pretty neat, but let's take a look at the resource groups. Click on the resource groups option in the menu on the left. You'll see the resource group we created via the Azure CLI:
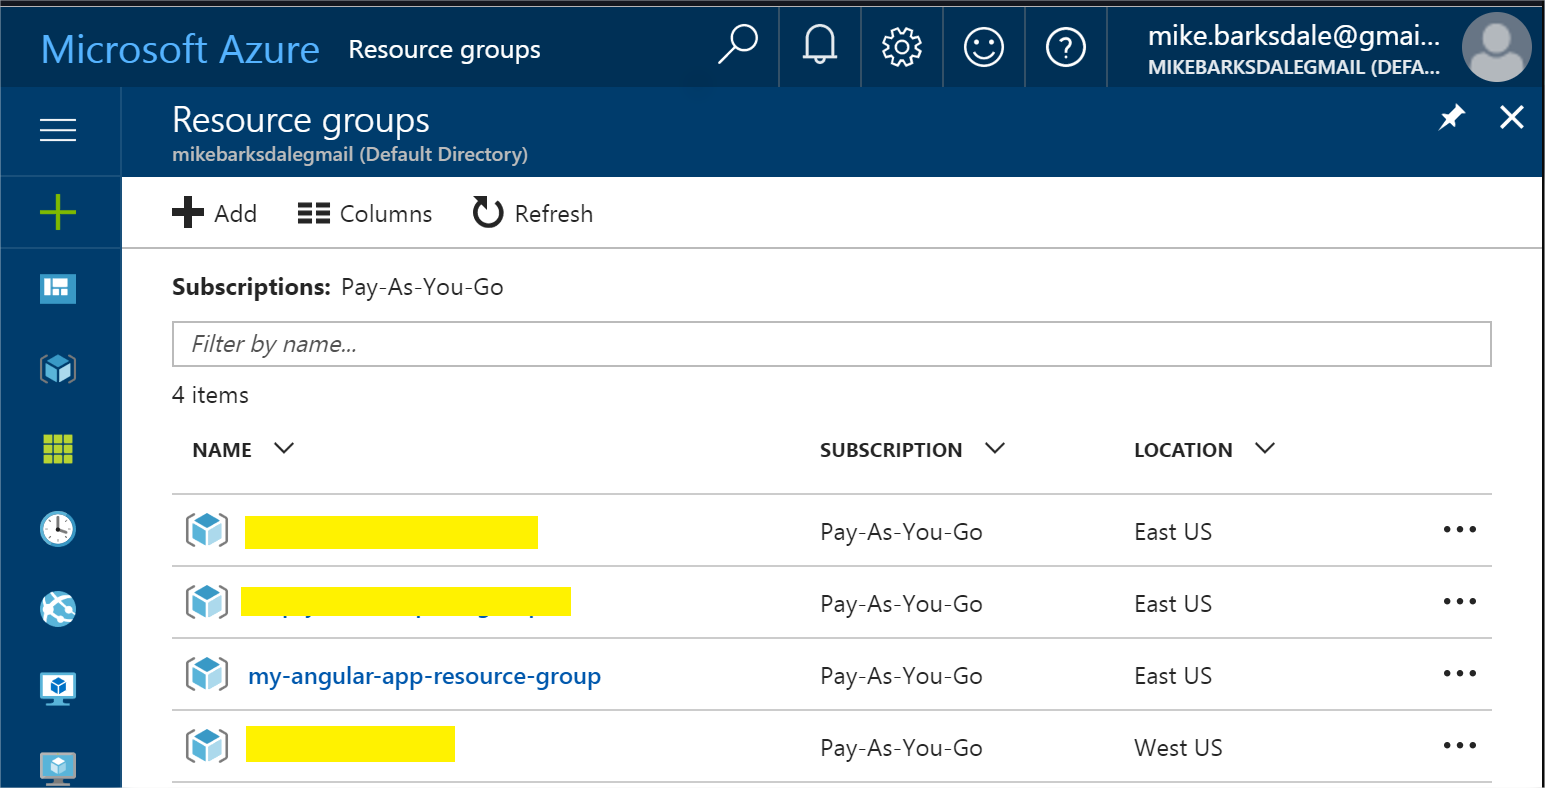
If you select the resource group, you'll be able to drill down further to see your app and your service plan.
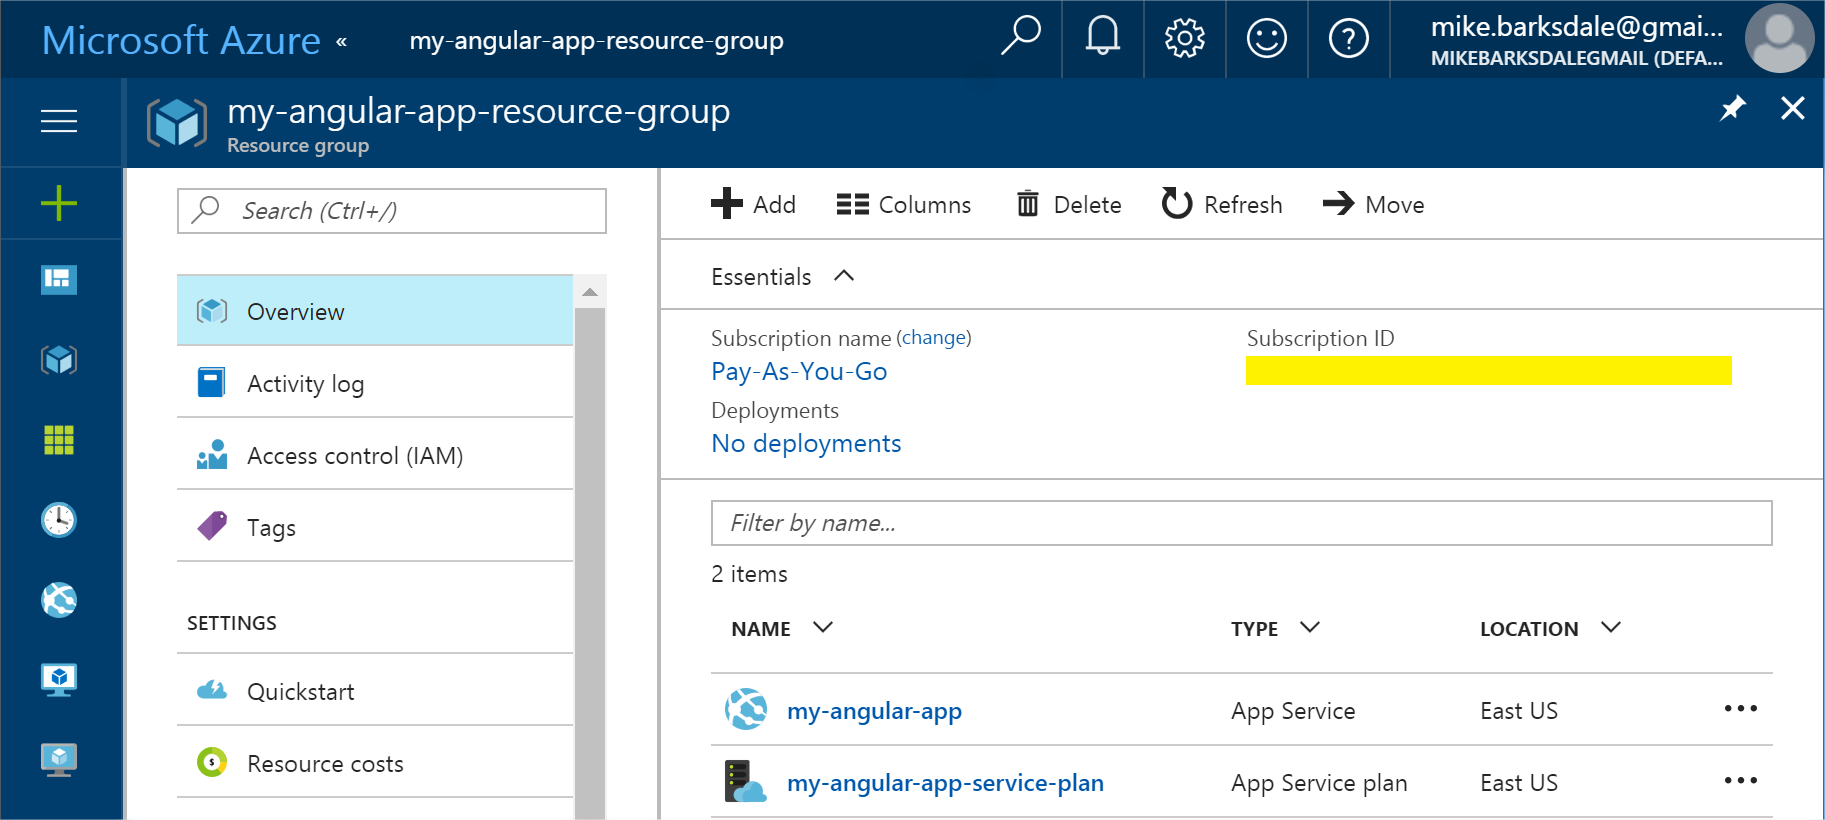
You can drill down further to see what you like, but to wrap things up, click on your web app (my-angular-app, in this example) and take a look at the deployment credentials. You should see the username you entered in the first step. If you want to change your password, you can do so here. Remember, these credentials are account wide.
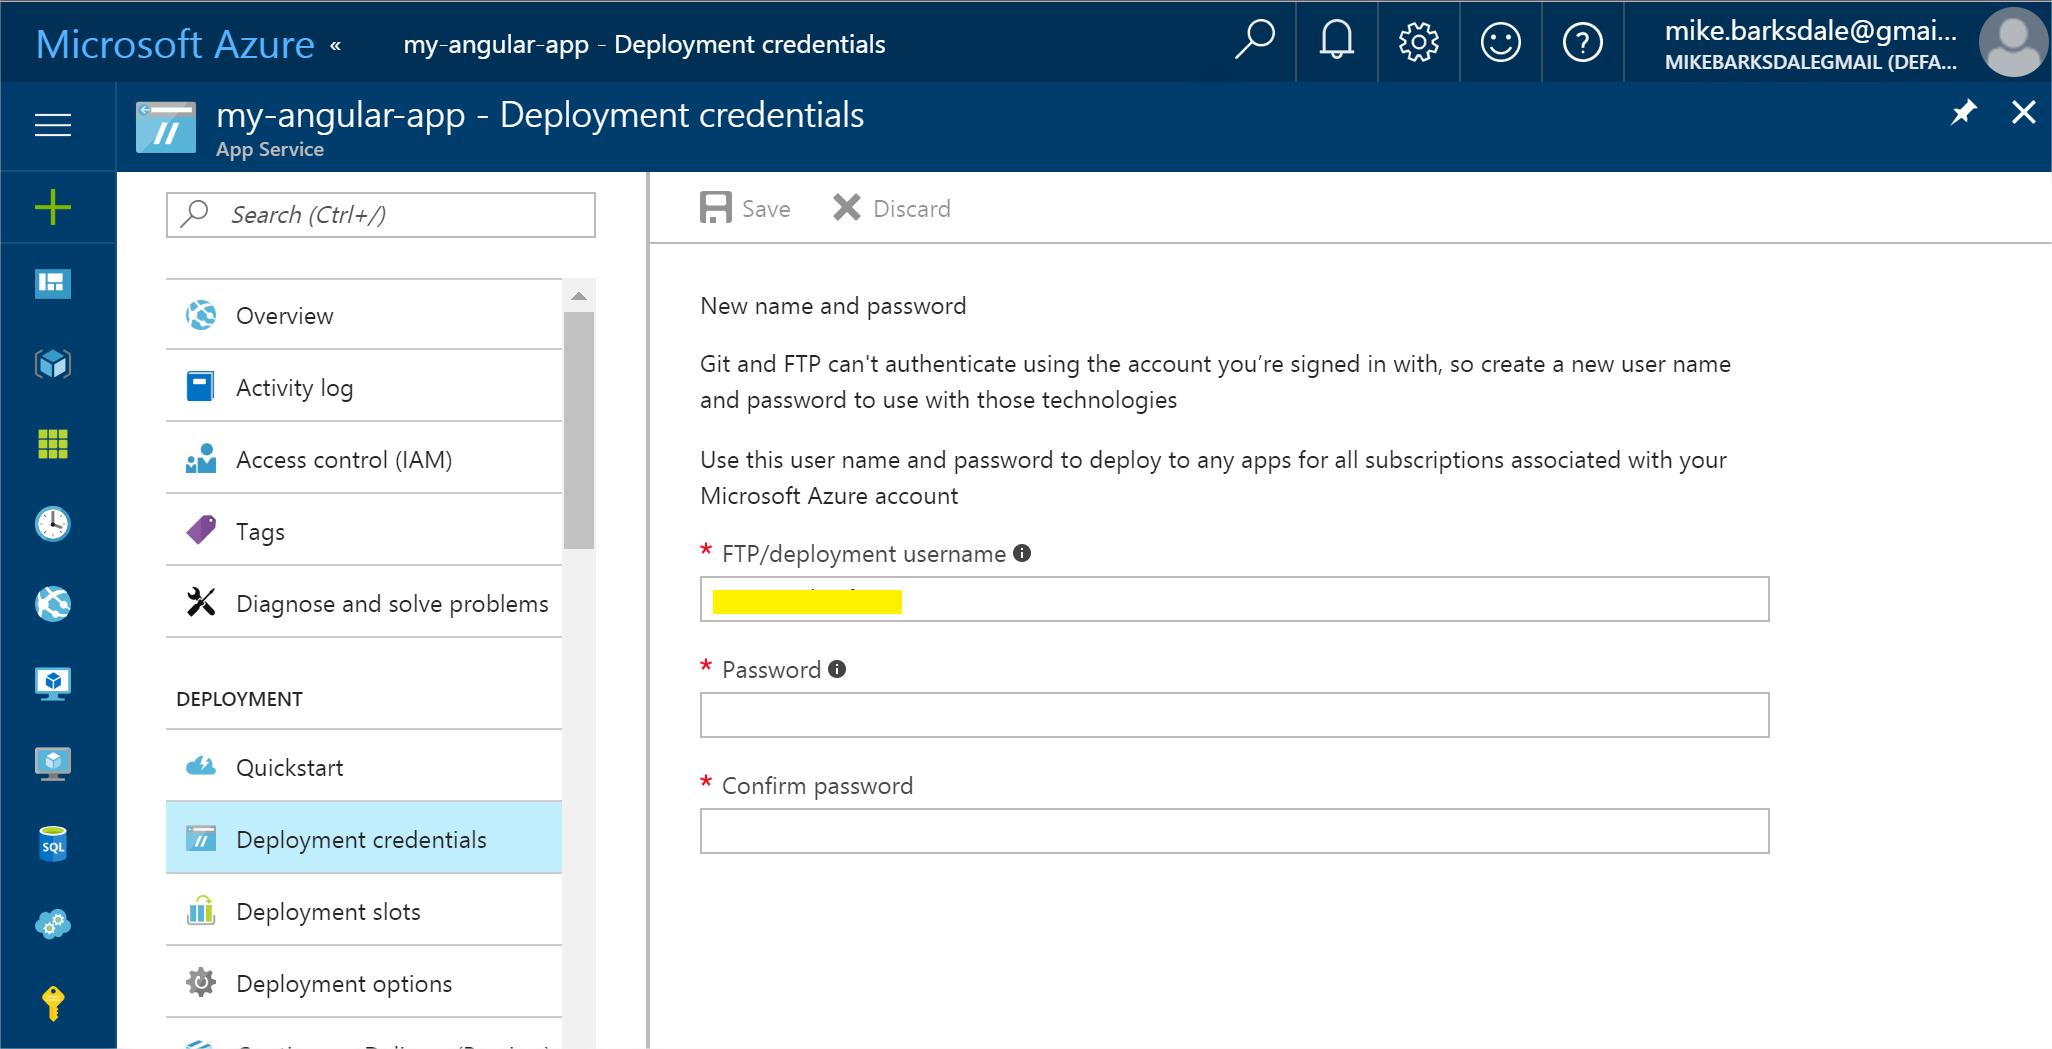
That takes us full circle.
Now let's look at the first method for getting our app up and running on Azure.
Method 1: Local Git Integration
With this method, we'll integrate with git on your machine by adding Azure as a remote. Whenever we push to the remote, Azure will take it, prep it, and run it.
First, make sure you've committed your changes. If you're using Visual Studio Code, you can click on the source control icon on the left or CTRL+Shift+G.
We'll use the Azure CLI to configure local git on our machine with Azure:
az appservice web source-control config-local-git --name my-angular-app --resource-group my-angular-app-resource-group --query url
The name parameter is the name of your app and the resource-group is the name of your resource group. You'll get something like this in return:

The URL should contain the username you created at the very beginning, along with your app name.
Copy that value, because we'll use it to add azure as the remote. Nothing really fancy here, just a plain old git command:
git remote add <some name> https://your-username@your-app-name.scm.azurewebsites.net/your-app-name.git
<some name> will be the remote name you configure with git. You'll use that name whenever you push your commit up to Azure. We'll call it "azure" to keep things simple:

Now all that's left is to push our app to Azure!
git push azure master
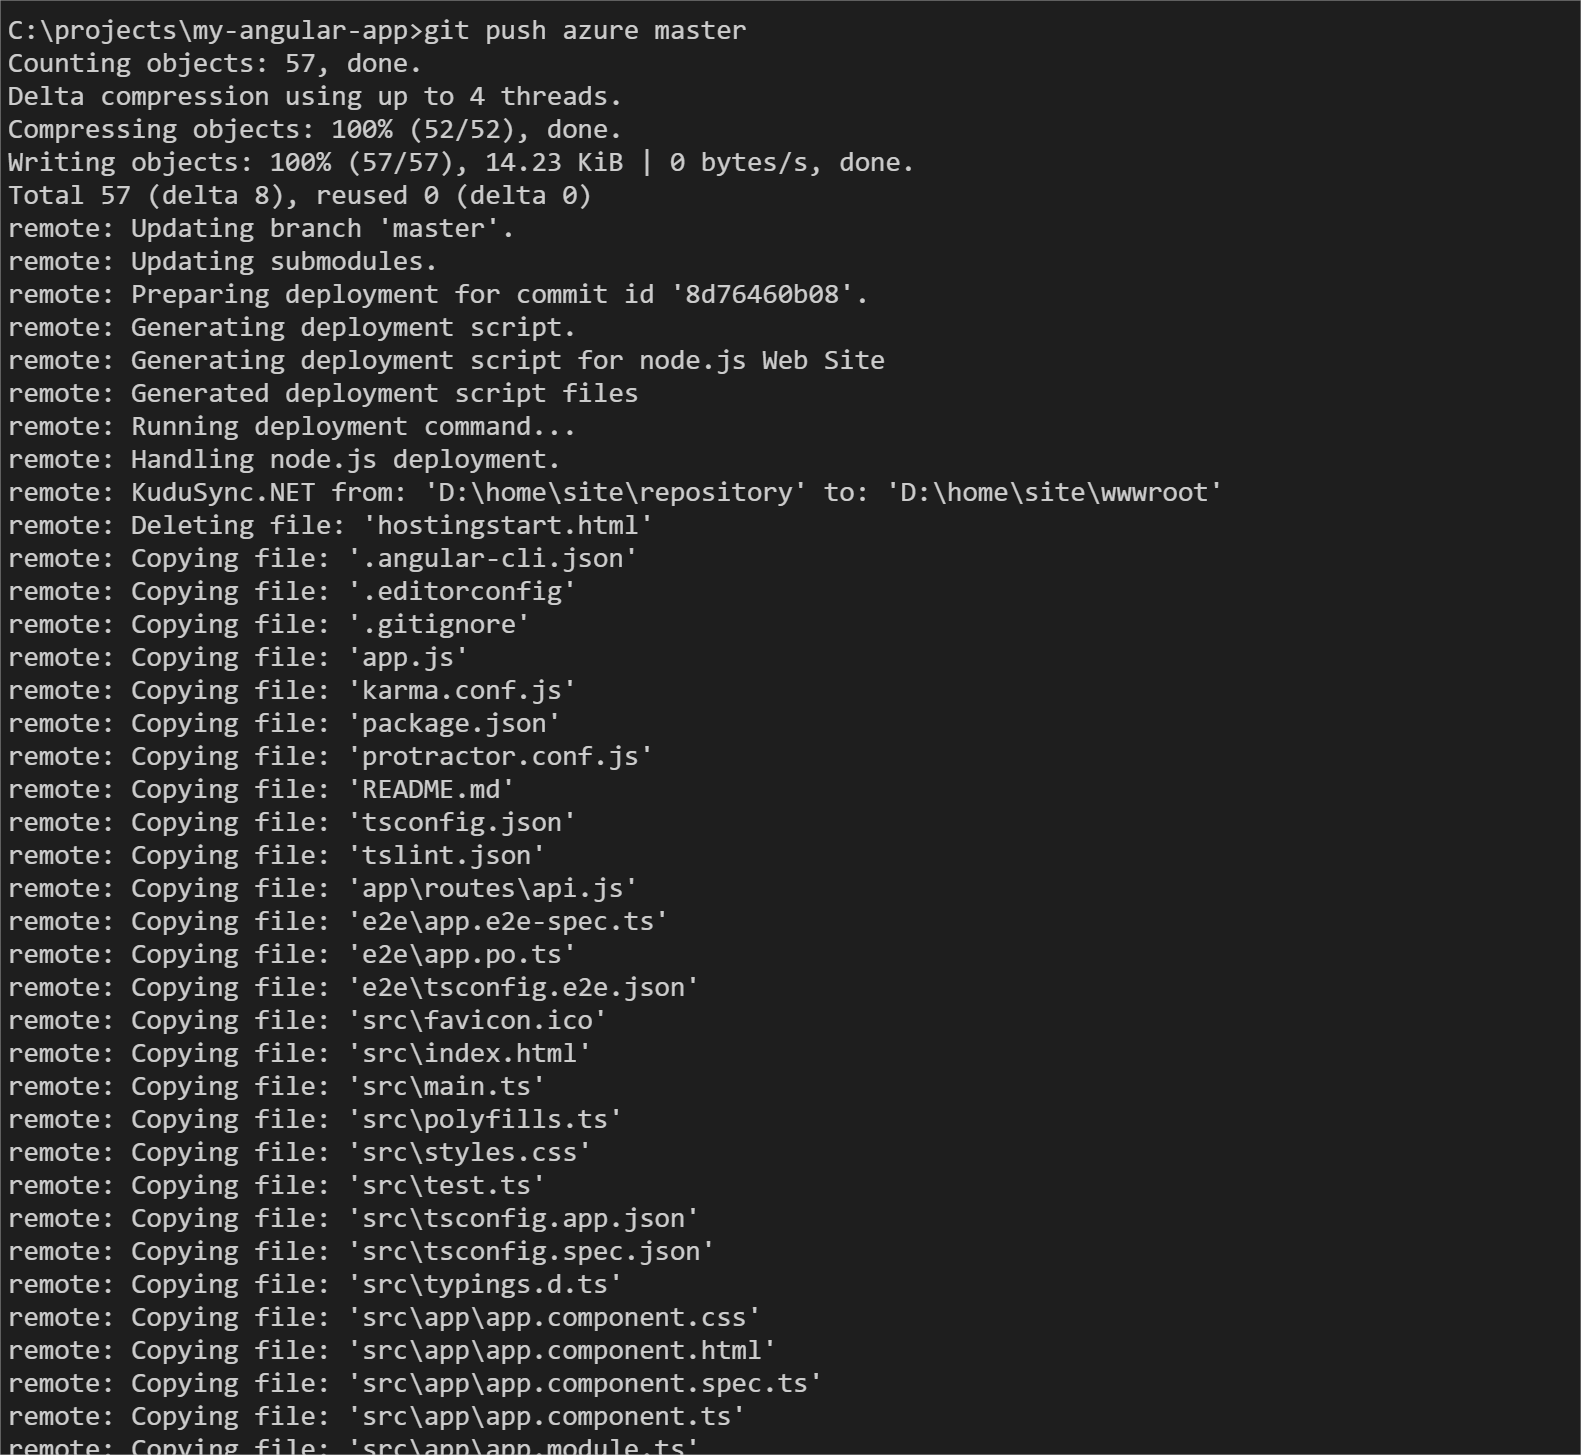
Note that you'll be prompted for your deployment user credentials that you created earlier.
You'll notice that Azure enables a deployment script and detects that we're pushing a node.js application. By default, the app we created is set to use node.js 6.9.1 (you can find this in the Application Settings section in the Azure portal for the app) and it attempts to find a startup script, which, in our case is the uniquely titled app.js.
So what are you waiting for? Go to the site and let's see some magic!
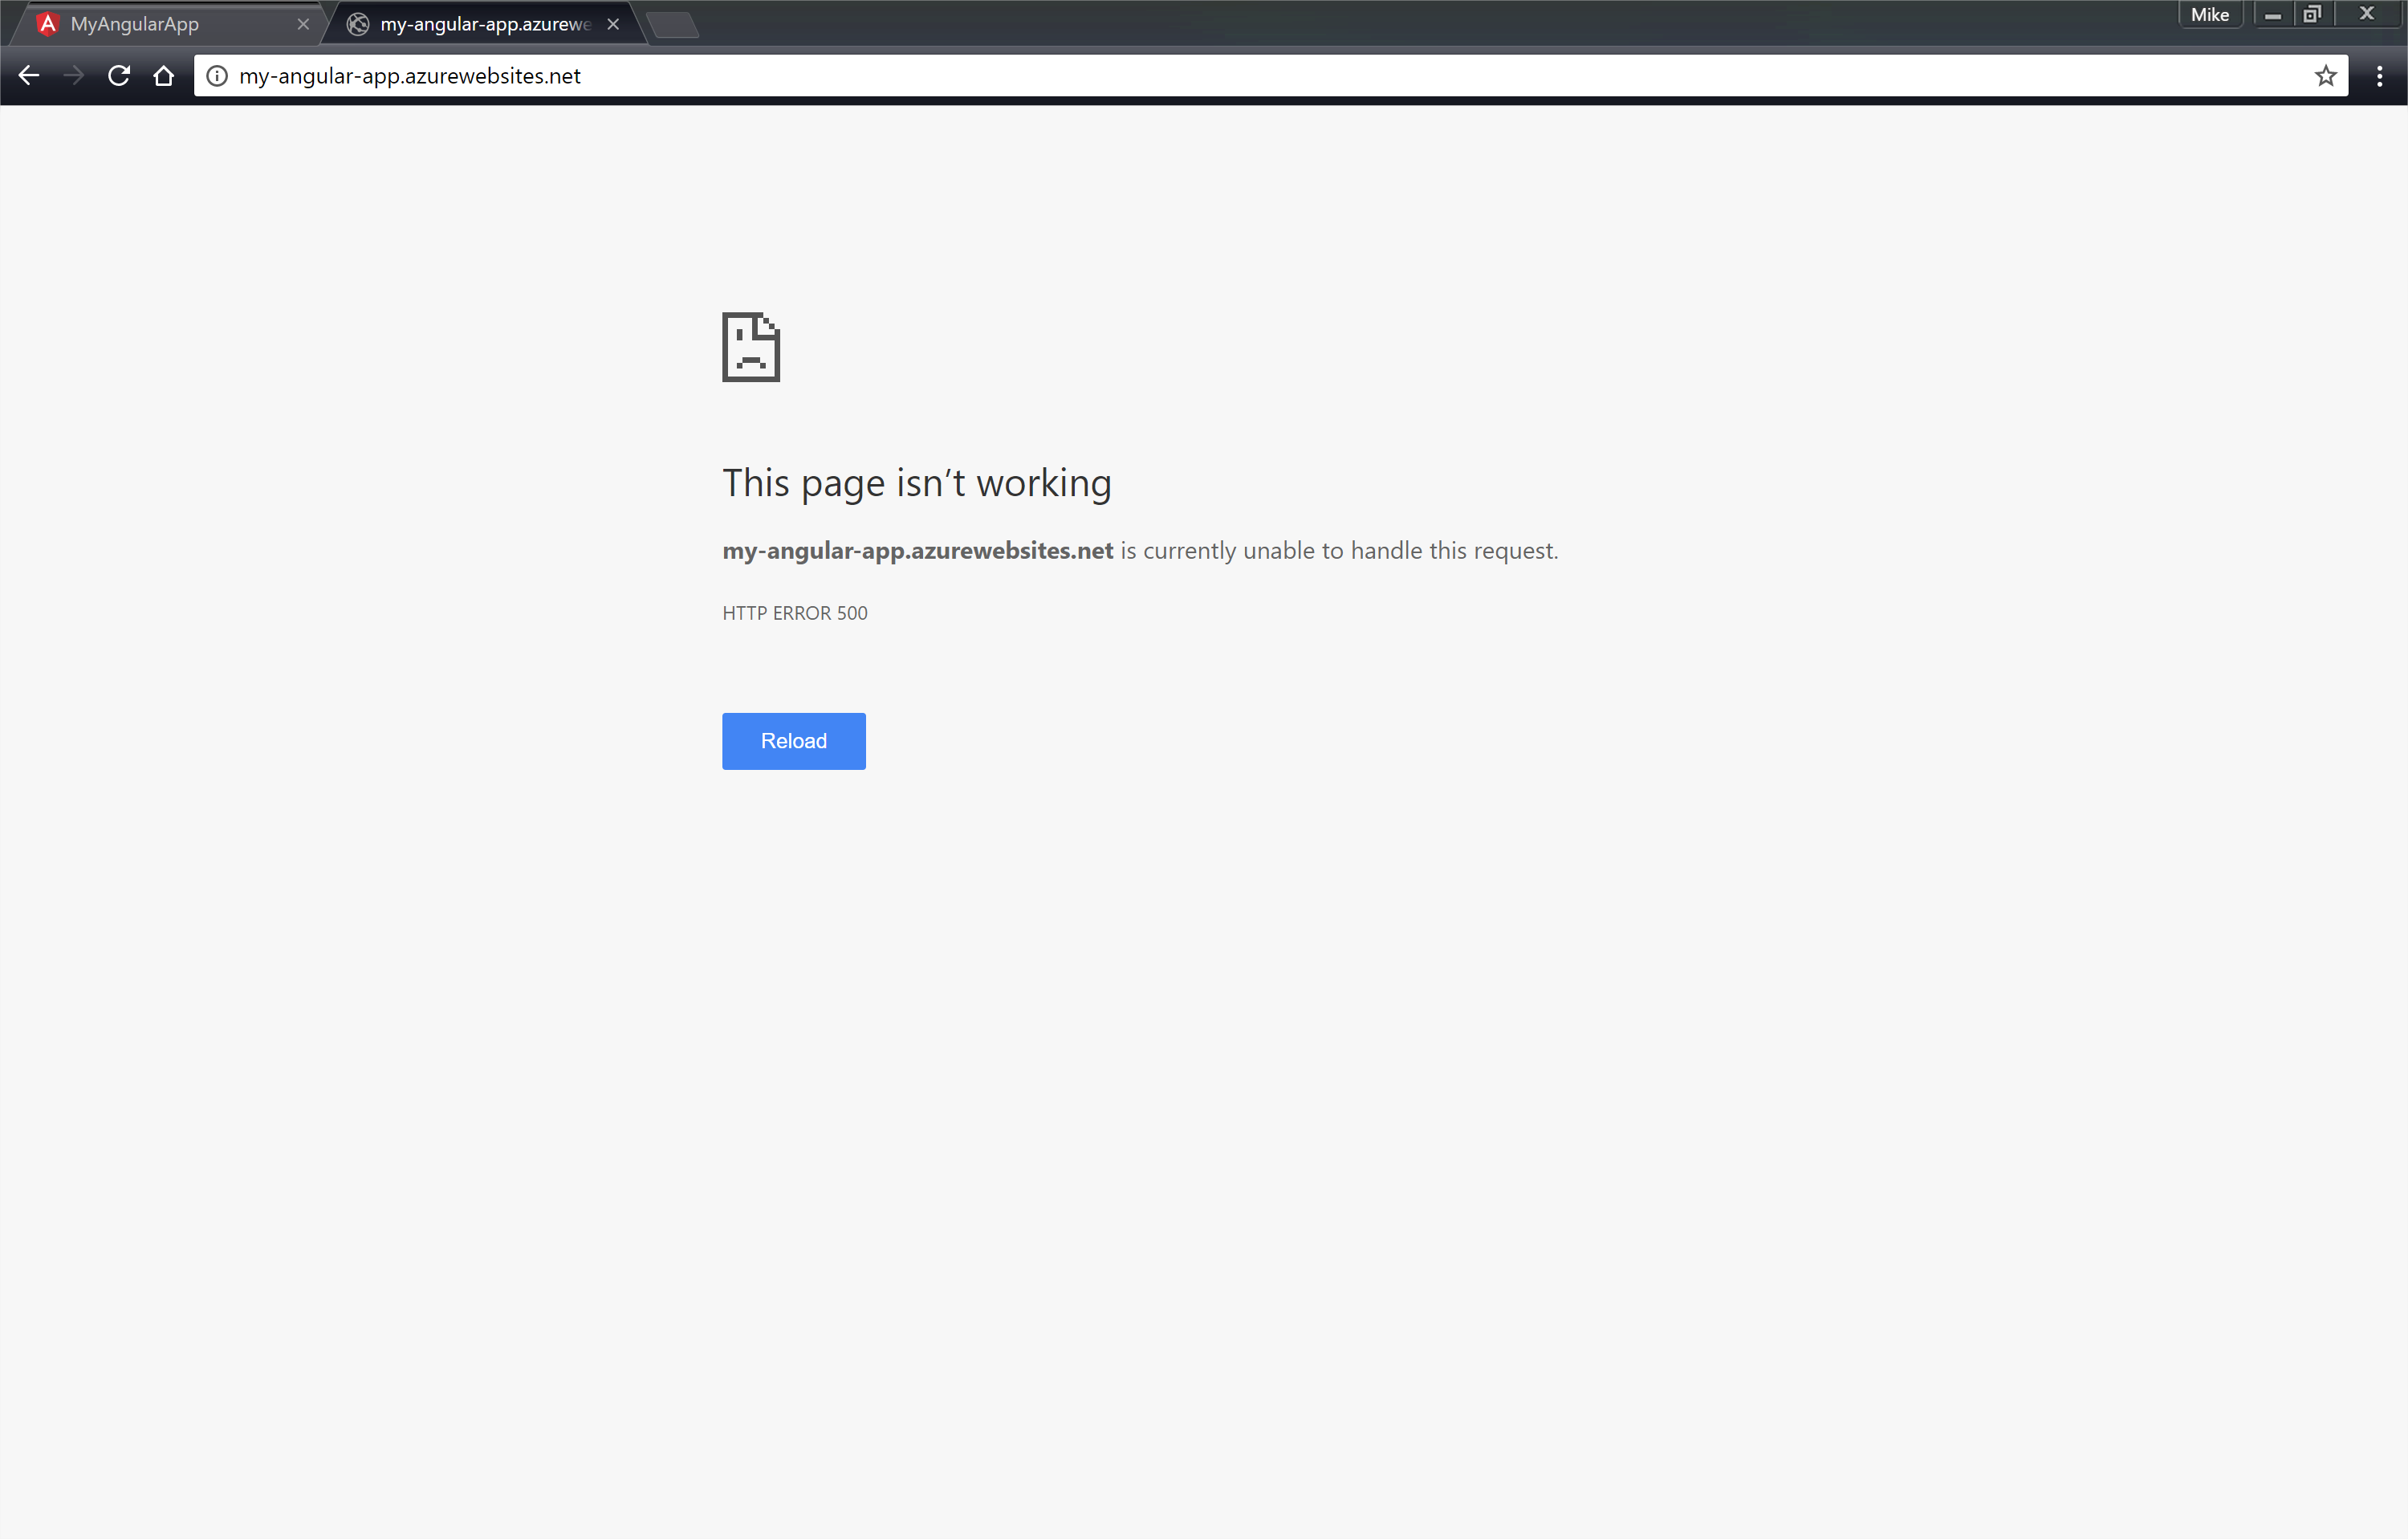
Well that's anti-climatic. What's going on?
Well, remember we configured Azure to take everything we had in git, prep it, and run it. If you go to the initial files created by Angular when we used the Angular CLI tool, you'll notice it automatically created a .gitignore file for the dist and node_modules folders. The dist folder is what we used to serve our index.html. This folder gets deleted and restored with the compiled contents of our Angular ap.
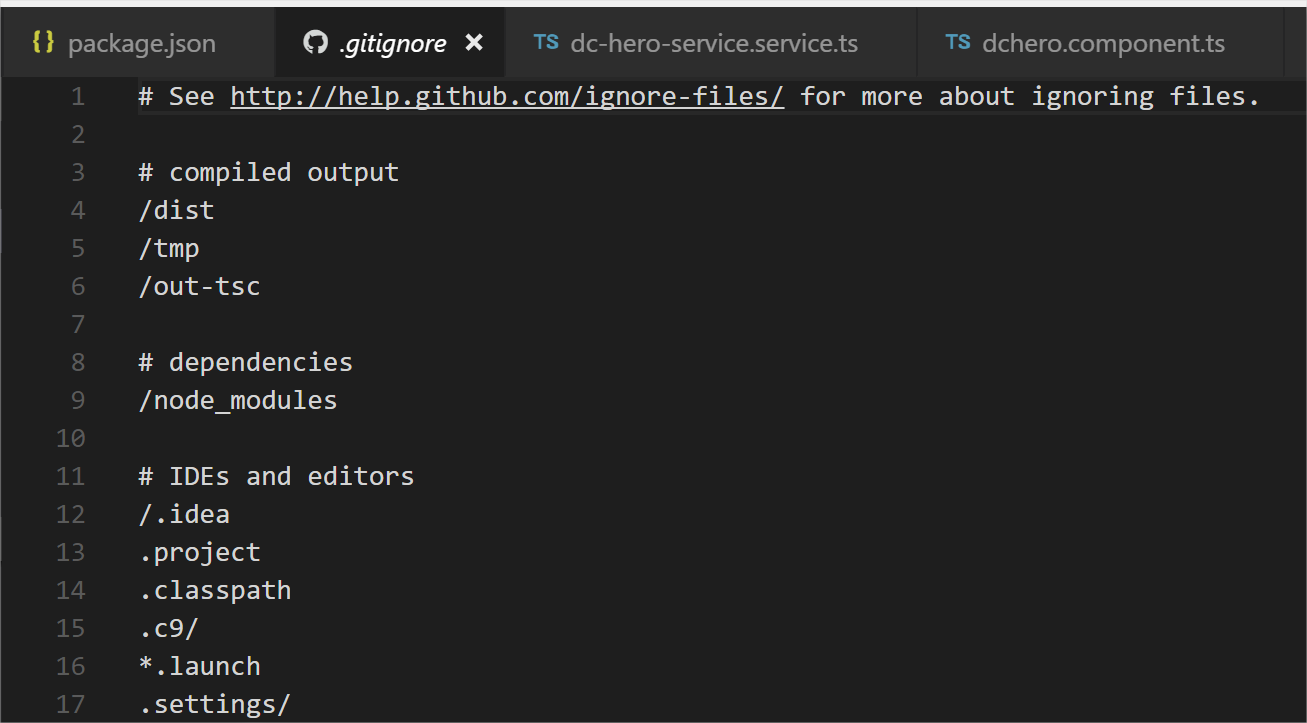
So... what do we do? Well, let's round out method 1 with one option, but it isn't too pretty (which we'll see in a moment).
We're going to add the dist and node_modules folders to git, commit, and push them up to Azure. Remove (or comment out) the folders. When you save the .gitignore file, you should see the contents of both folders appear in your source control changes.
Commit those changes and push everything back up to Azure: git push azure master. Once that process completes, hit the app again to see if anything changed.
Ok! We're almost there. What's up? Let's pop open the dev tools and see.

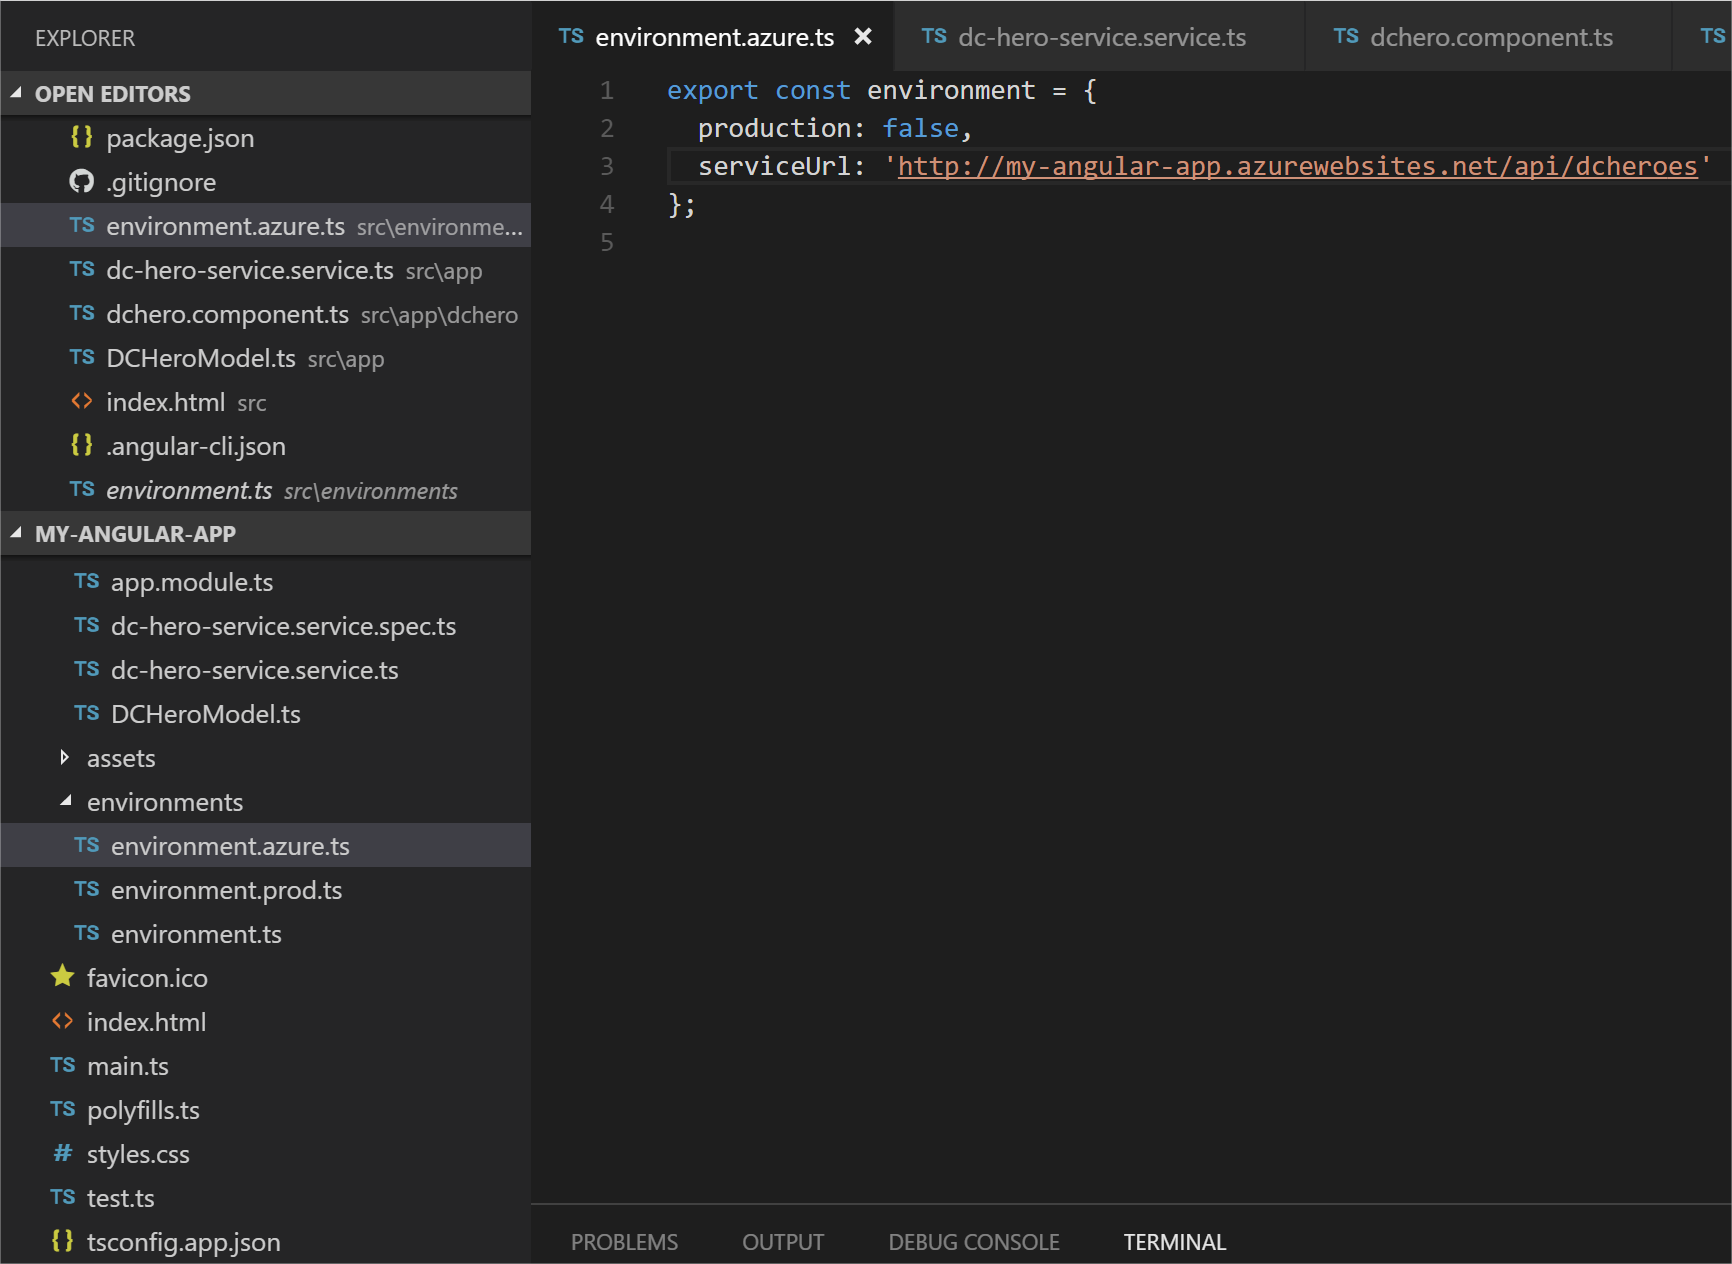
Localhost! Oh, that's right. It worked on our machine. It's easy enough to change the environment variable (or use another option at your leisure). For simplicity's sake, let's go ahead and change the value, commit it, and push it up to Azure.
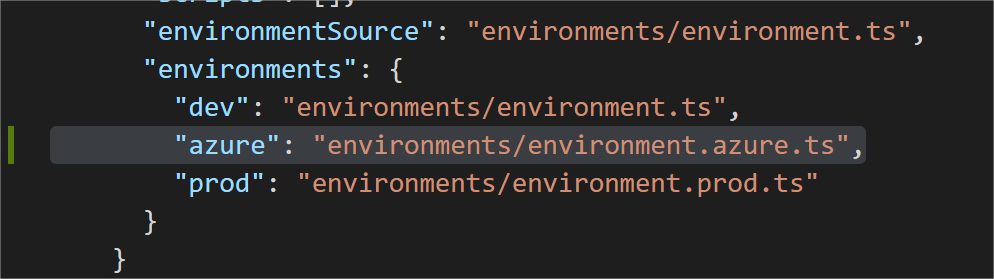
Specifically, let's add an "azure" environment, build the Angular app, commit our changes, and push it up to Azure (remember, we're pushing everything up to Azure since it's tied directly into source control).
We'll modify angular-cli.json to add our new environment:
Now let's add the file and modify the build script in package.json to include a build called az-build for our Azure environment:

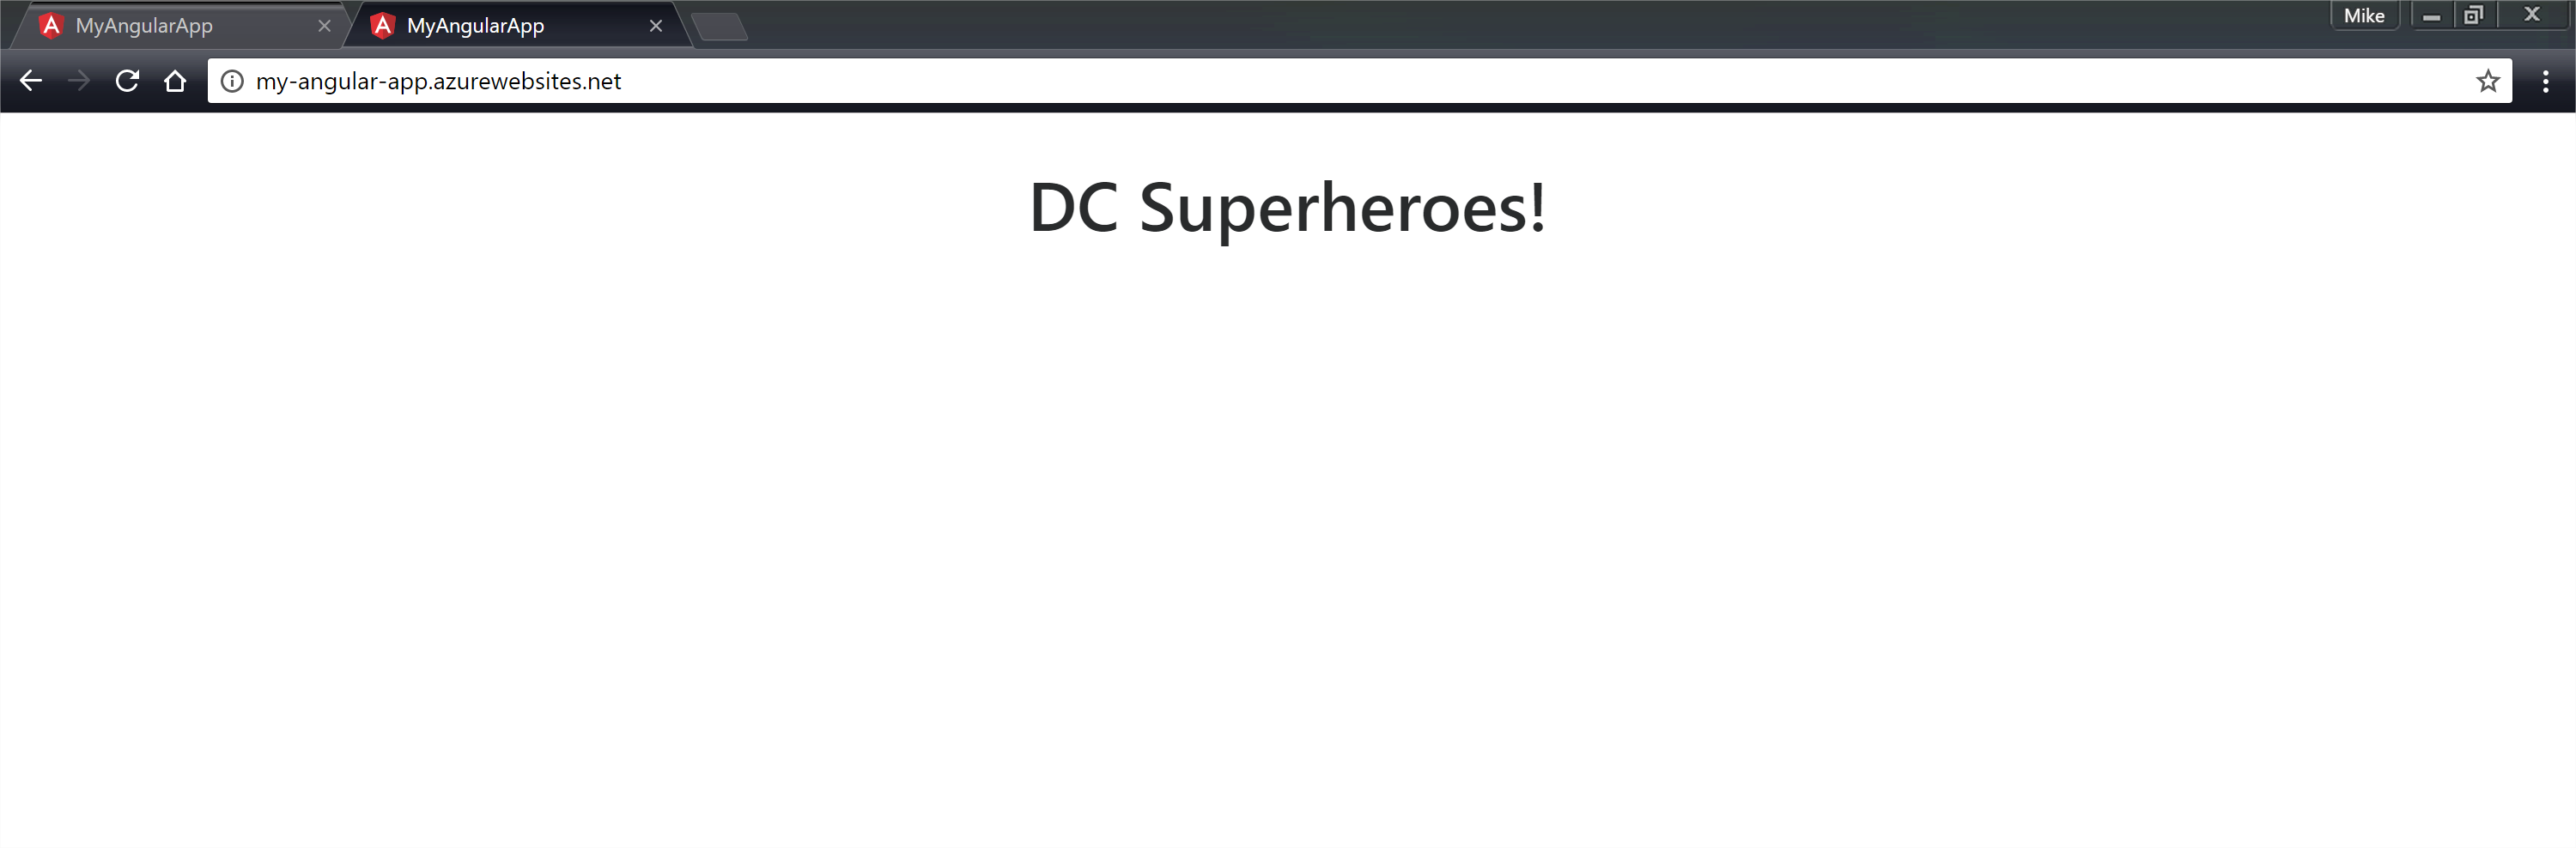
Now when we run npm run az-build it will build with the ng environment set to "azure". Commit, push, and...
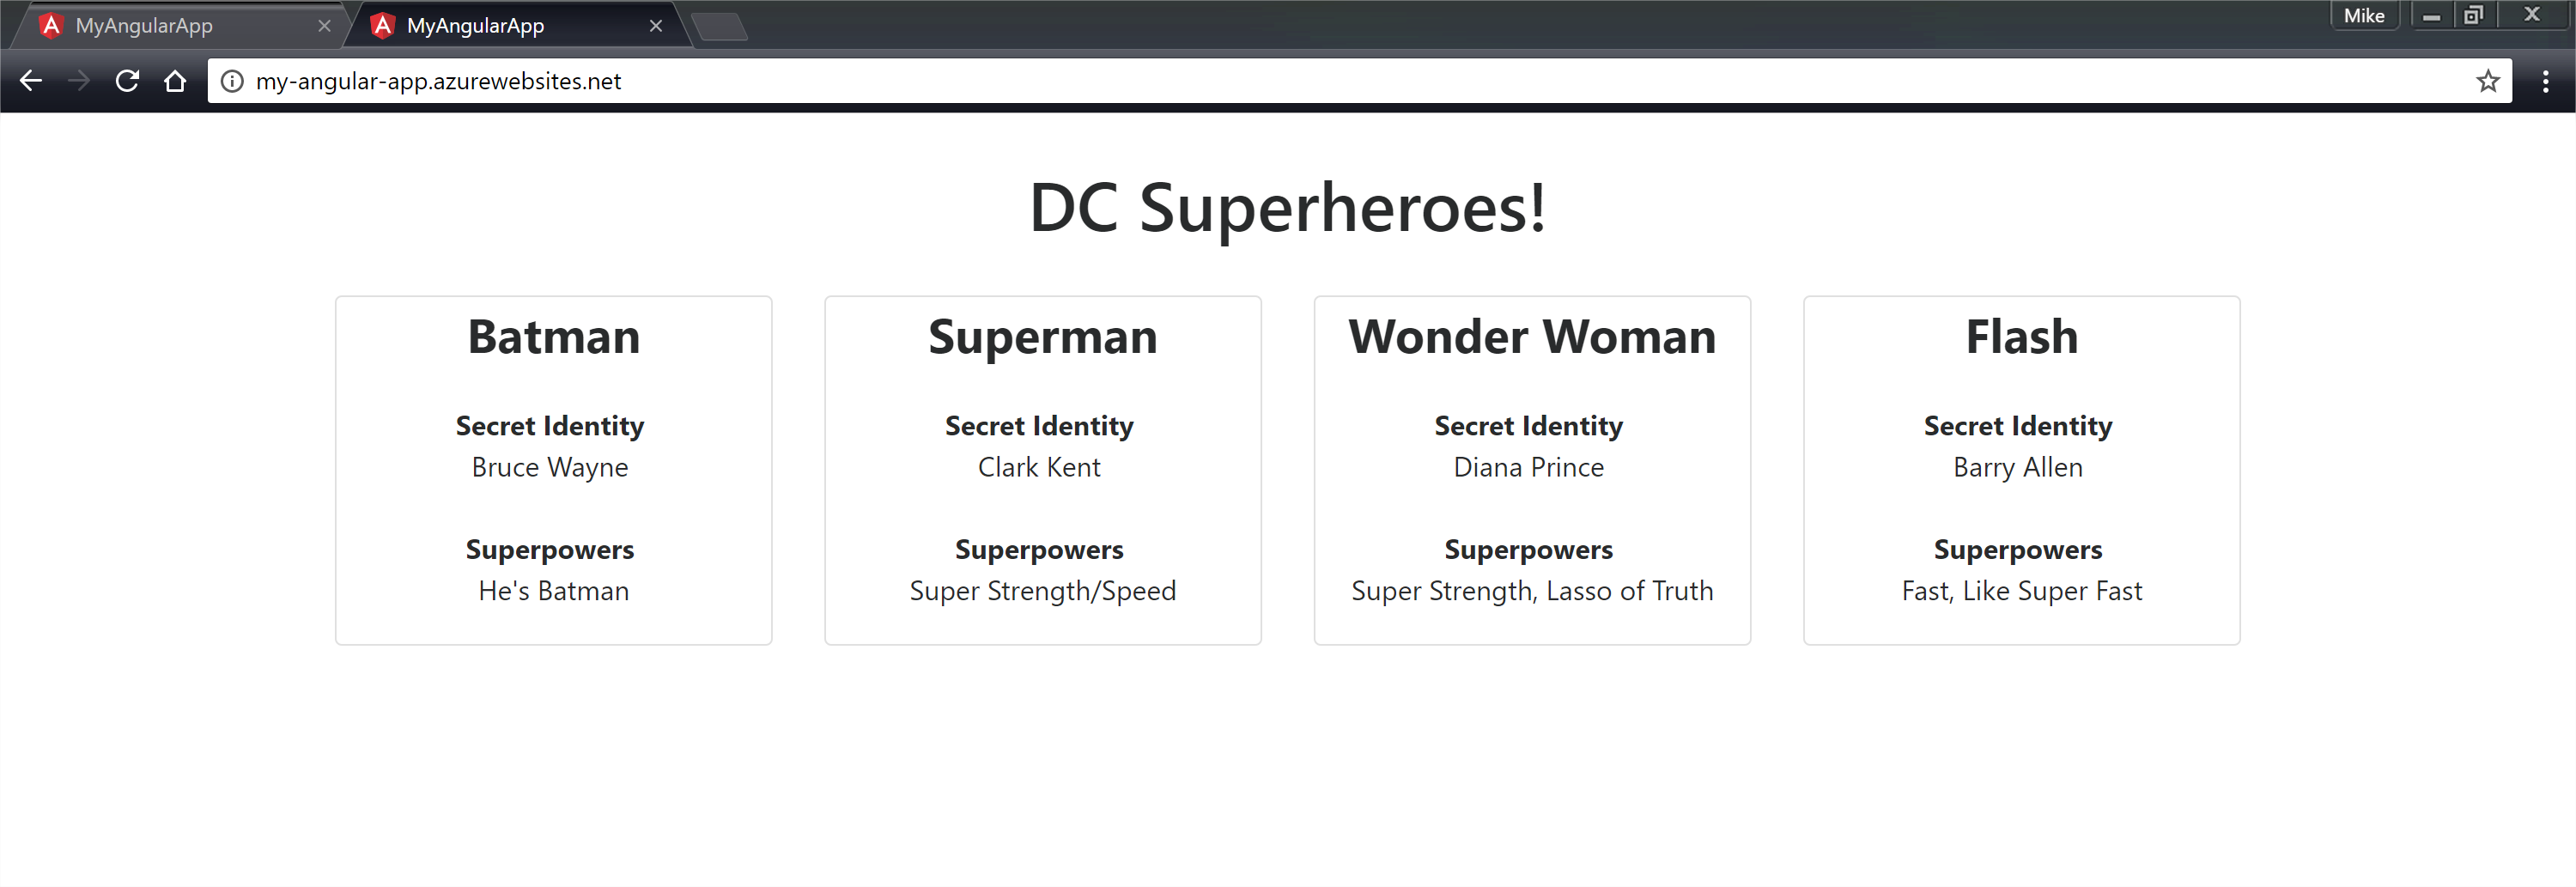
We're in business! Or... are we?
Let's talk about what's going on:
- We built an Angular 4 app with a node.js backend.
- We created the appropriate resources on Azure and set up deployment through our local git configuration.
- Azure too our app, prepped it, and got it up and running on Azure.
- In order to include the deployment artifacts produced by the Angular build process, we had to include the
distfolder in source control. - In addition, we also included
node_modulesin source control as well.
As you can see, the last couple of bullets are far from ideal. Artifacts that change on build and gobs of dependencies checked into source control feels a little... off. We can get around the node_modules bit by ensuring that the appropriate dependencies are defined in our package.json file for Azure to interpret.
Before we do move on to other deployment methods, let's FTP to our site so we can see what's there. We'll use FileZilla for this part, but feel free to use whatever FTP client you're comfortable with.
Your FTP credentials are the same as the deployment user you set up, with a little twist. There are a couple of ways to get to your FTP info:
- By looking at the overview on the Azure portal:
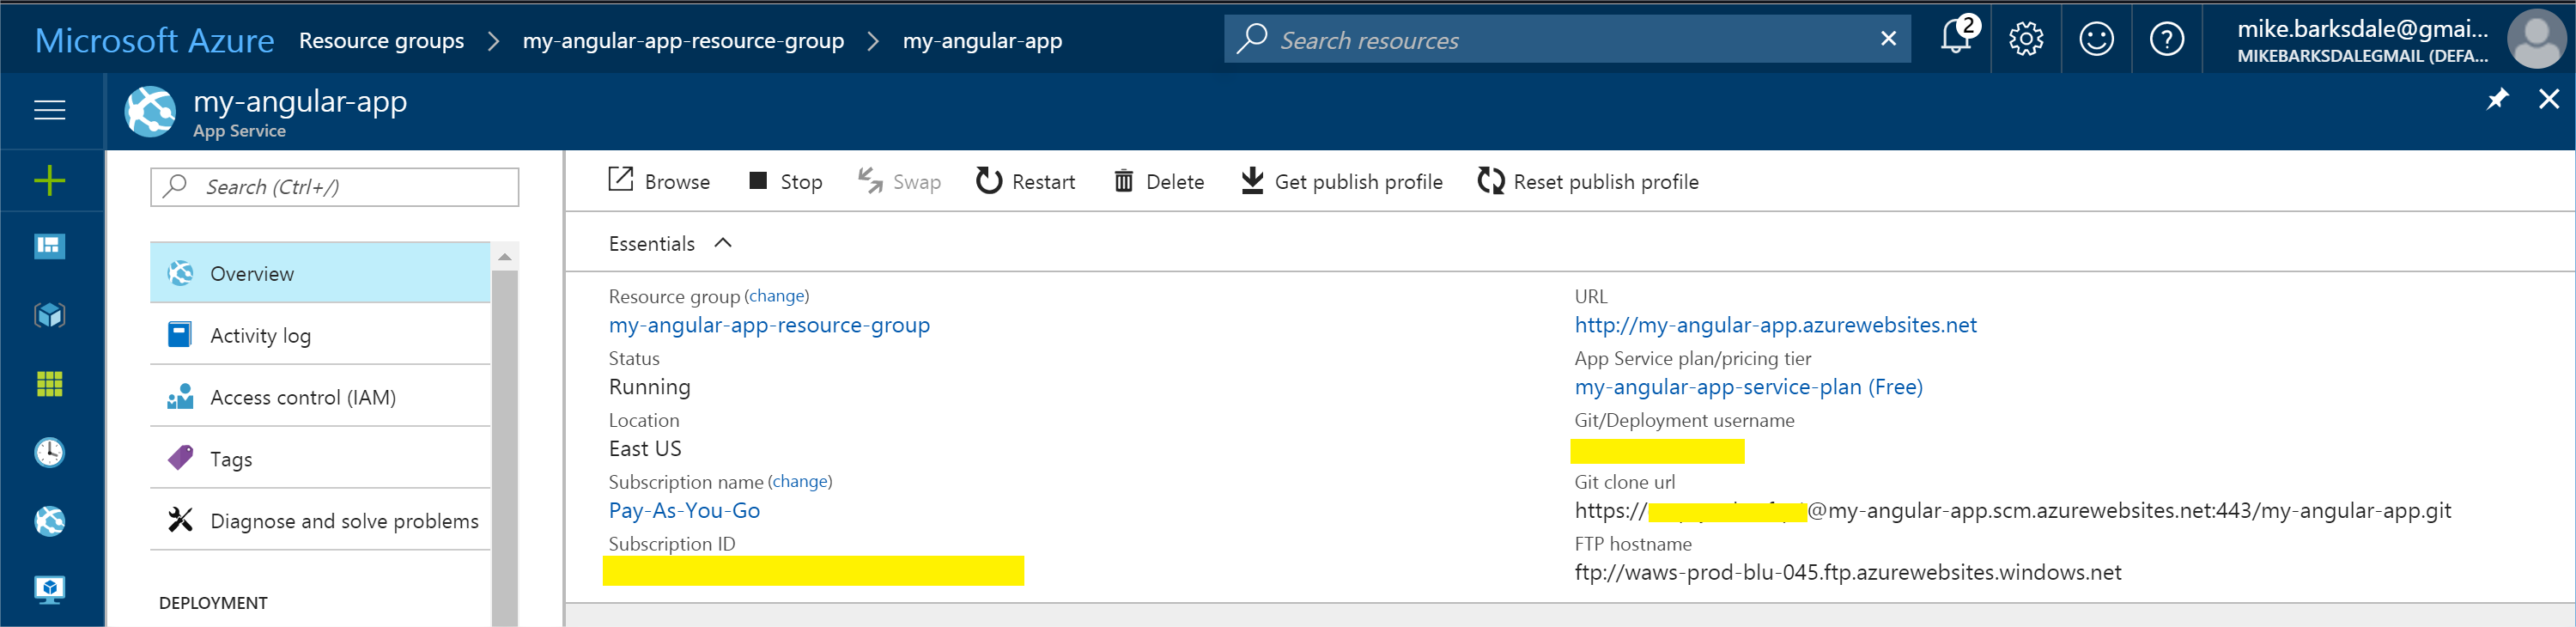
- Downloading and viewing your publish profile (from the link on the overview page):
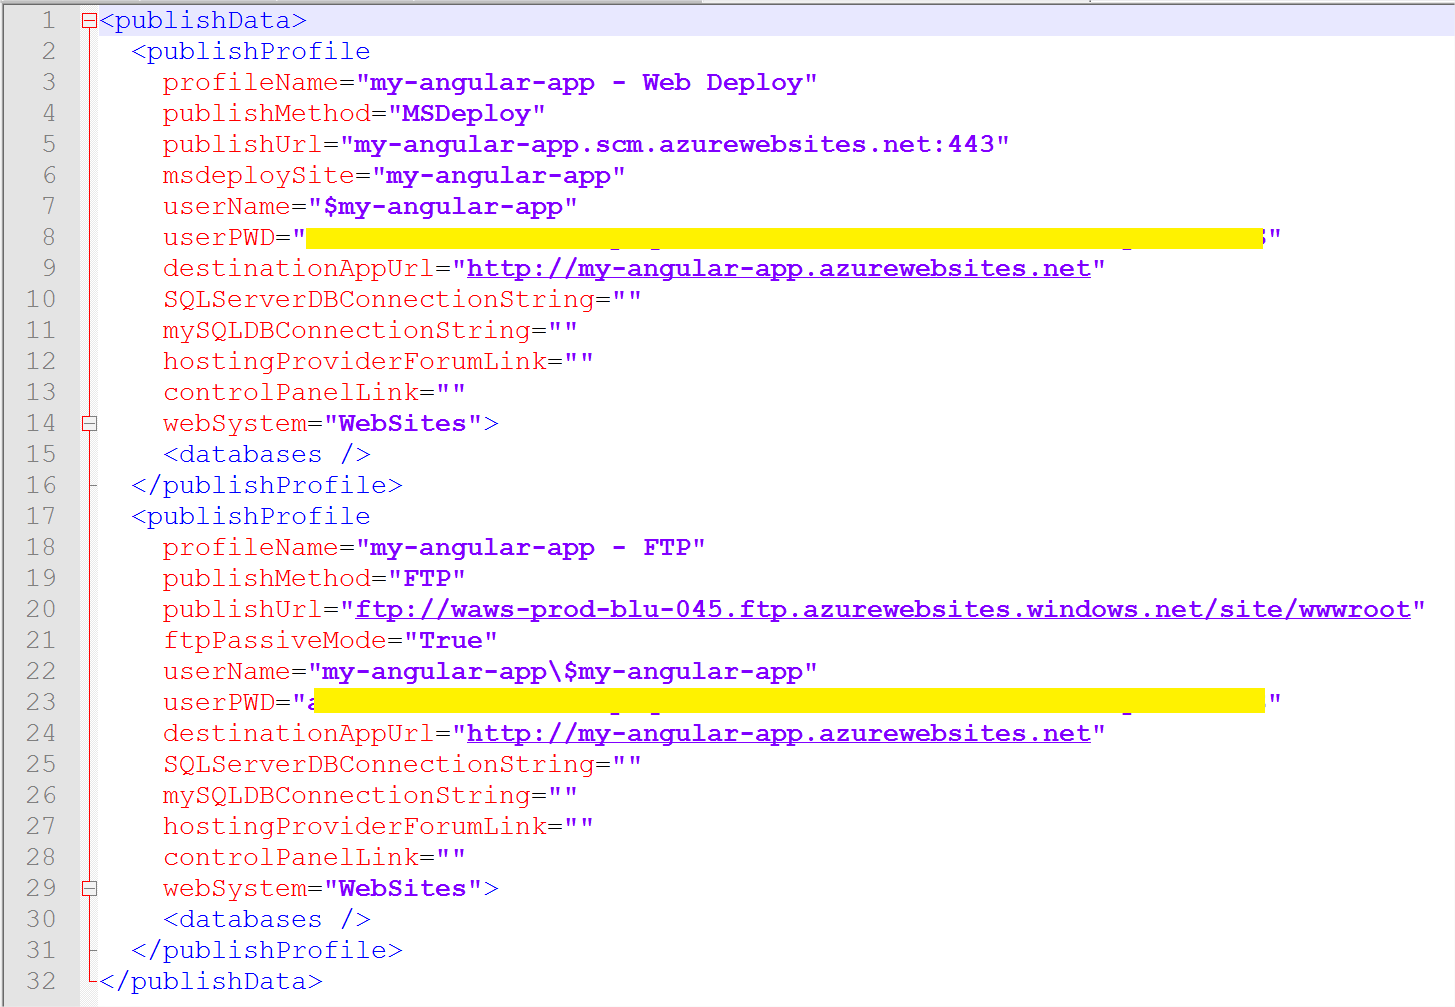
Key in on your FTP hostname and your username/password. Your deployment credentials (again, account wide) are not listed here, but Azure gave you a username/password for your specific app. Either way, the FTP location is the same. If you do decide to use your deployment credentials, you'll have to use it in the form of <app name>\<username>. Something like my-angular-app\username.
Open up FileZilla and connect:
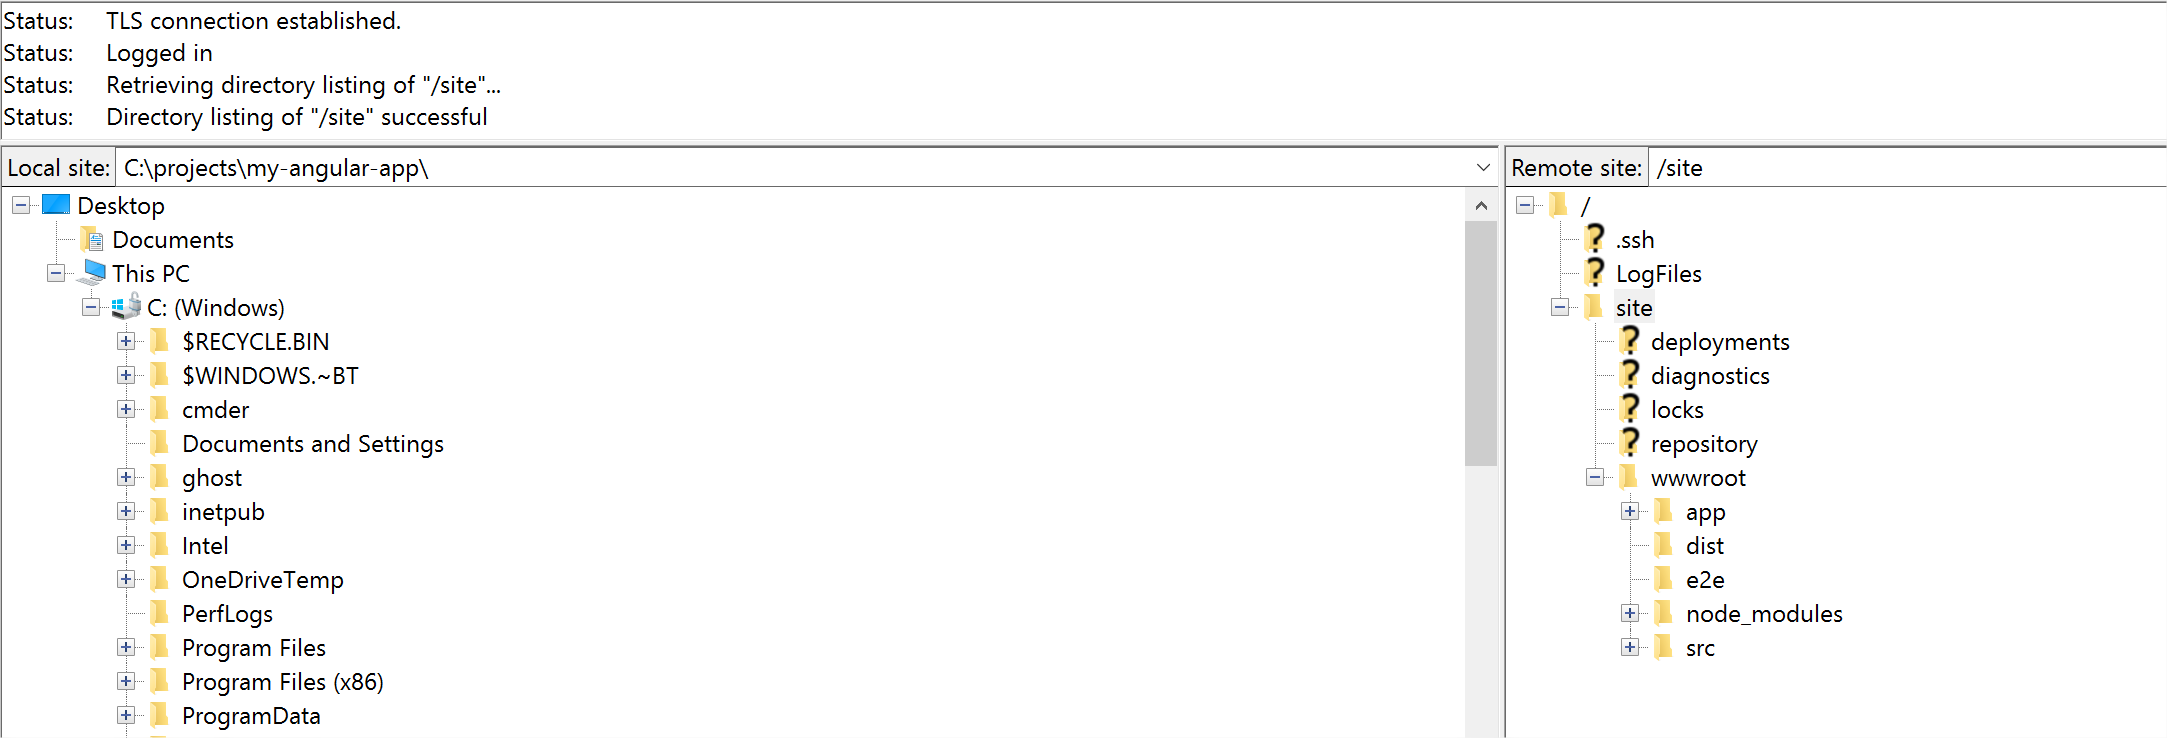
It's FTP so you can move/remove things under /site/wwwroot. That's your world, so go nuts.
I do want to point out 2 files: iisnode.yml and web.config. These were supplied by Azure by default (if it doesn't see them, it'll add them with the configured default values). Feel free to open them up and take a look.
And that's it.
In the next post, we'll go over a couple of other methods so that we can begin to clean things up into a process that's a bit cleaner.