Angular 4, Node, and Azure: Part 1


So I was having an impromptu conversation with a buddy of mine when we got on the subject of Angular and how to deploy the app to the cloud. They mentioned that there were tutorials out there, but he didn't know where to get started.
Here's to you, buddy ;)
We'll keep things simple with our development environment:
- Windows 10 (argument of simple might go out the window here, but stick with me)
- Visual Studio Code
- Node.js
We'll need to install node.js and npm. It's easy enough to follow the instructions at nodejs.org to get this part out of the way. It's cool, I'll watch this gif on a loop until you've got things sorted out.

Fire up Visual Studio Code and open up the terminal. You can use any terminal you like, really, as long as your environment get run the following command to globally install the angular CLI: npm install @angular/cli@latest.
Let NPM do it's thing. Once it's installed, you can create a new angular project with ng new my-angular-app (you can call your app whatever you like, of course).
Let's see what it created:
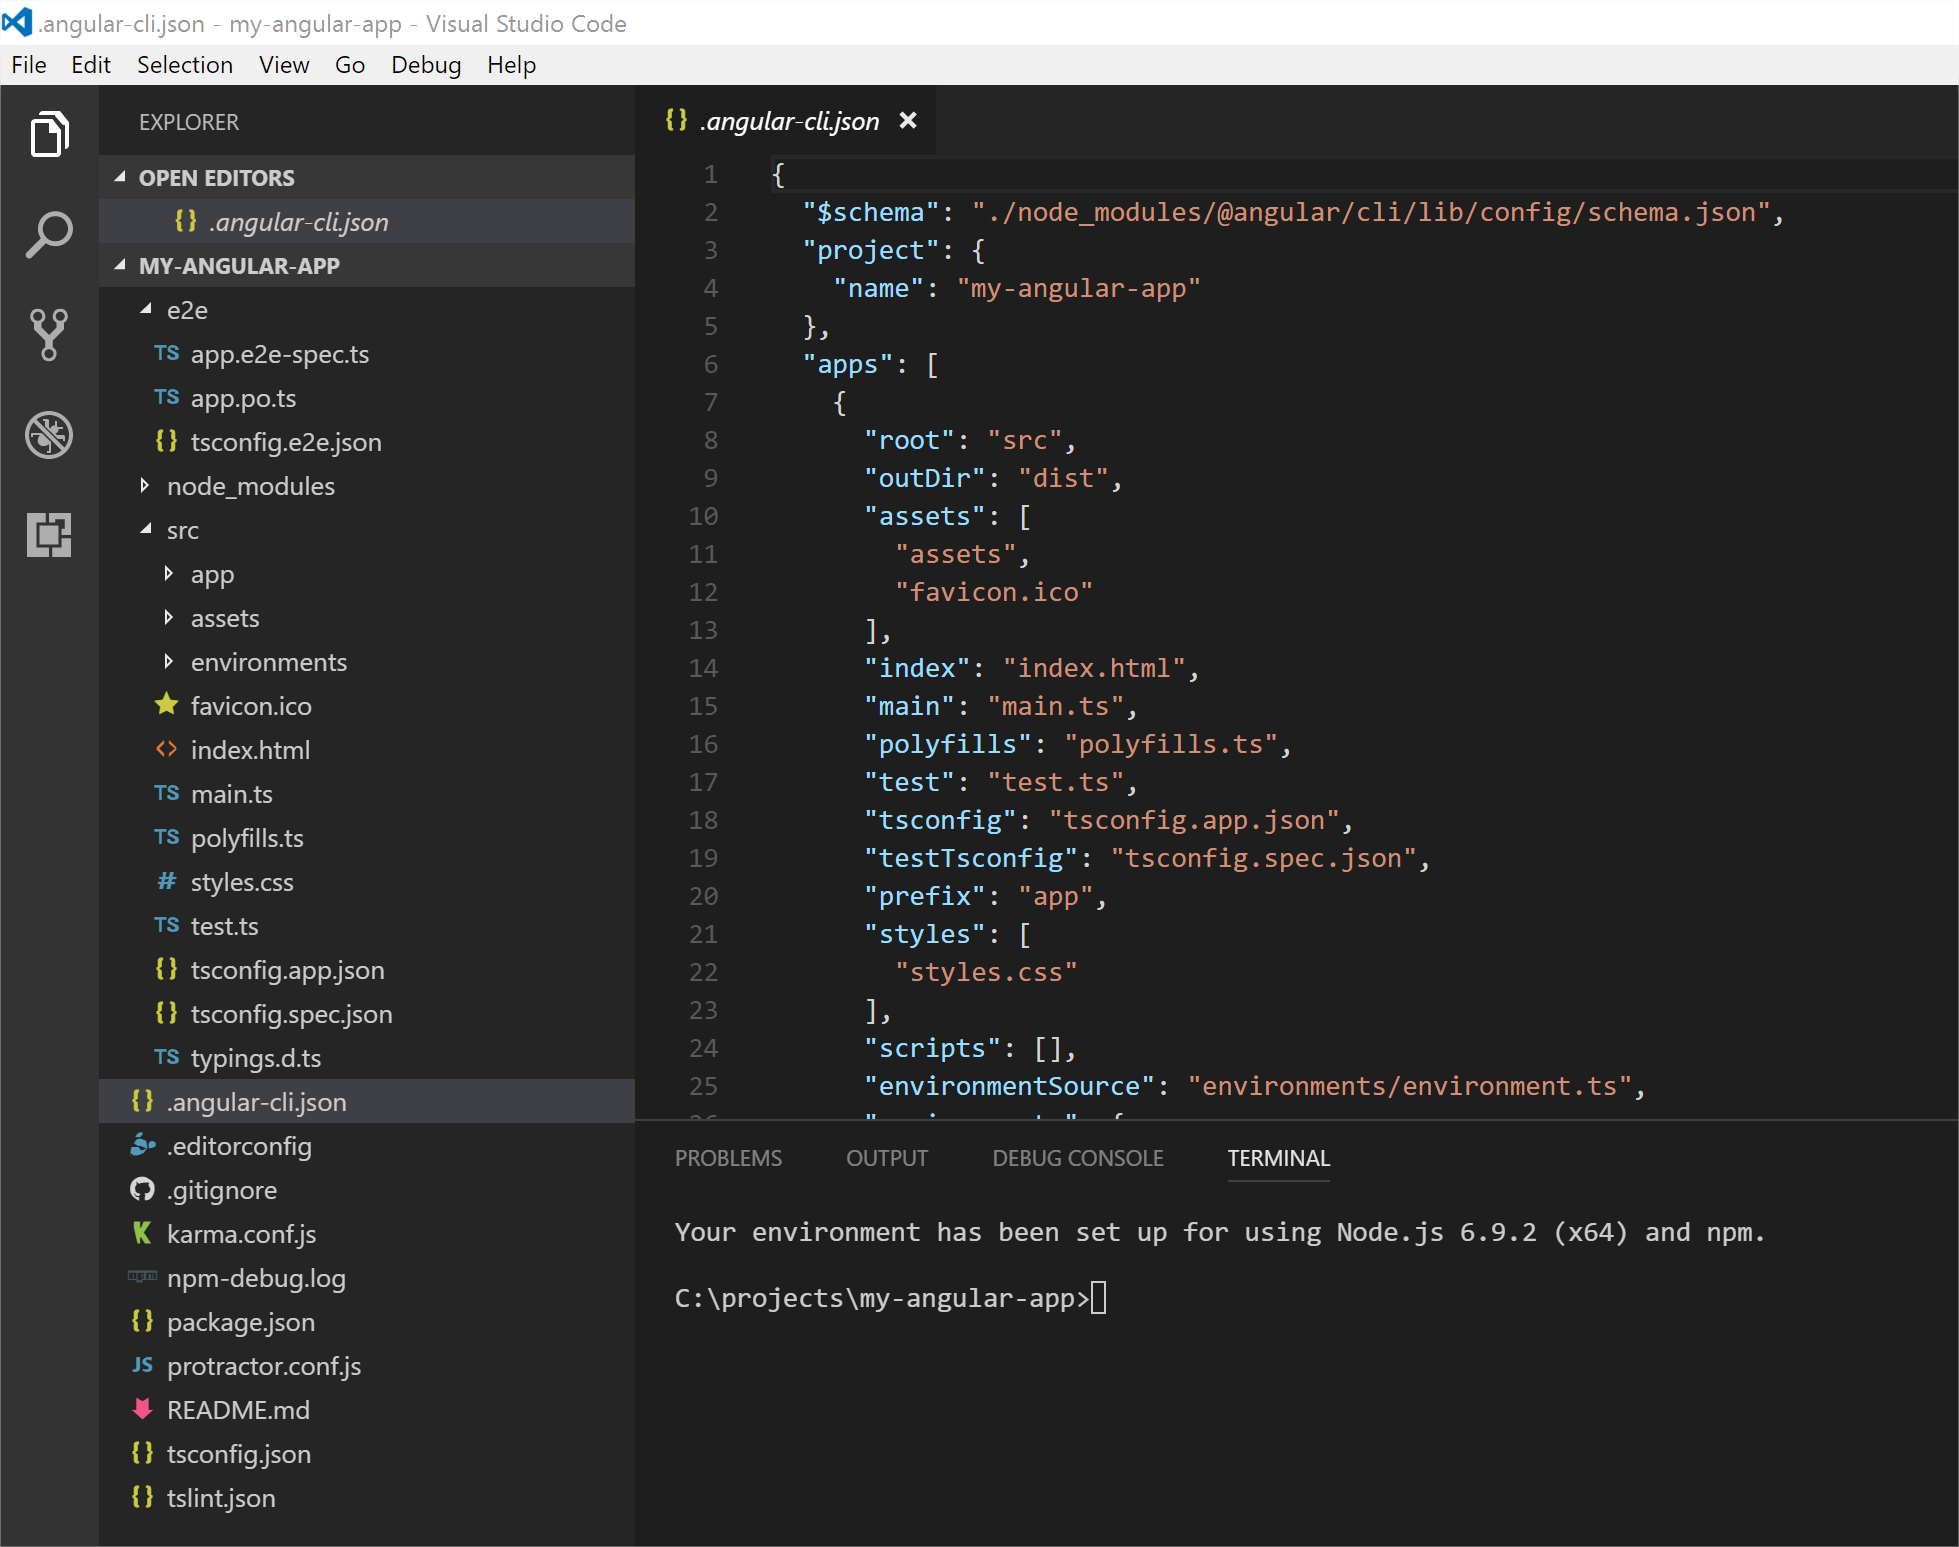
Some notes on what was generated:
- angular-cli.json: This is used to specify the different bits that control the CLI tool. Here is where you define assets, bundling, etc.
- package.json: Your standard node.js package.json.
- tsconfig.json: A config for typescript. You can specify which standard of javascript (e.g. ES5, ES6) to use.
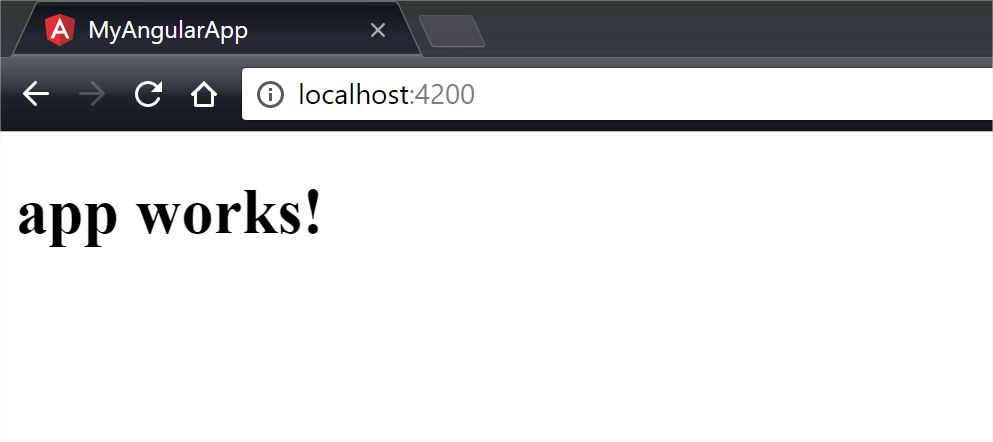
Build the app with ng build and serve up the home page with ng serve. Browse to http://localhost:4200/ (defined in protractor.conf.js).
You should end up with this:
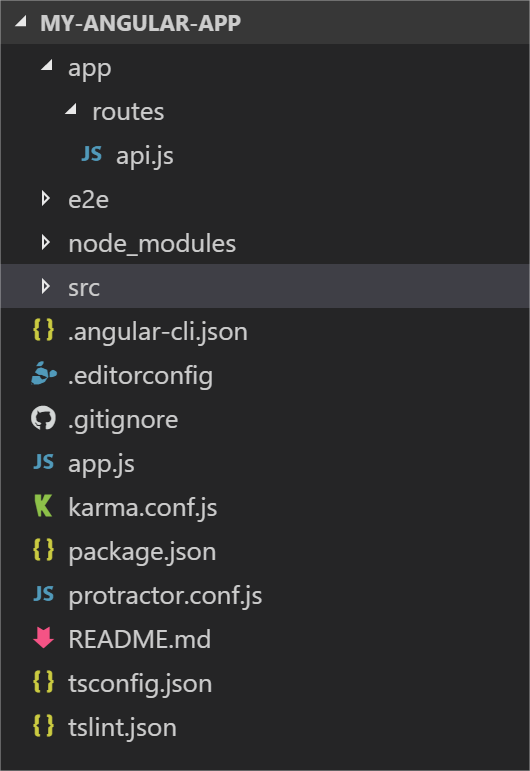
Now, let's make our app doing something at least mildy interesting. Let's have it retrieve a list of DC superheroes. To do this, we'll add an API served from node. Let's create the following folder structure: app\routes\api.js. We'll also need an app.js at the root. Our additions will look like this:
Now we need to set up node to serve the app through app.js, which will bootstrap our routes in api.js. This will allow us to hit our api to get our superheroes and still serve up the Angular dependencies.
First, in app.js, we have:
//dependencies
const express = require('express');
const path = require('path');
const http = require('http');
const bodyParser = require('body-parser');

//routes
const api = require('./app/routes/api');

const app = express();

//parsers for post data
app.use(bodyParser.json());
app.use(bodyParser.urlencoded({ extended: false }));

//static path
app.use(express.static(path.join(__dirname, 'dist')));

app.use('/api', api);

//redirect everything else to the static path
app.get('*', (req, res) => {
    res.sendFile(path.join(__dirname, 'dist/index.html'));
});

//set the port
const port = process.env.PORT || '3000';
app.set('port', port);y,

//server
const server = http.createServer(app);

//listen on the port
server.listen(port, () => console.log('API running on localhost:' + port));
Key things here:
- We tell Express to set the static path to "dist". This is the default output for Angular (defined in angular-cli.json as "outDir").
- We set up a route to
http://host:port/api. This will be controlled by the routes we define inapp.js. - The default file that gets served up is
index.htmlfor our single page application. - We tell the app to listen on port 3000 if a port isn't defined in an environment variable.
- Lastly, we kick up the server and echo to the console that it's up and running, listening on whatever port was configured.
Our api.js file is really simple. It's going to return a static list of DC superheroes:
const express     = require('express');
const request     = require('request');
const router      = express.Router();

router.get('/dcheroes', (req, res) => {
    res.statusCode = 200;
    res.send({
        heroes: [
            {
                name: 'Batman',
                secretIdentity: 'Bruce Wayne',
                superpowers: 'He\'s Batman'
            },
            {
                name: 'Superman',
                secretIdentity: 'Clark Kent',
                superpowers: 'Super Strength/Speed'
            },
            {
                name: 'Wonder Woman',
                secretIdentity: 'Diana Prince',
                superpowers: 'Super Strength, Lasso of Truth'
            },
            {
                name: 'Flash',
                secretIdentity: 'Barry Allen',
                superpowers: 'Fast, Like Super Fast'
            }
        ]
    });
});

module.exports = router;
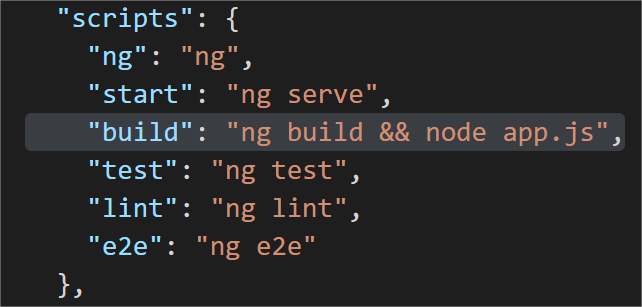
In order to run the app, we need to both start node and serve up Angular. Let's modify the build parameter in package.json to do just that:
The keen-eyed observer will notice that we're taking advantage of the arrow notation provided in ES6. For older browsers, we'll have to use a shim in order for backwards compatibility. We won't deal with that here, but you can use tsconfig.json to specify which version of javascript you'd like it to compile by using the target and lib values.
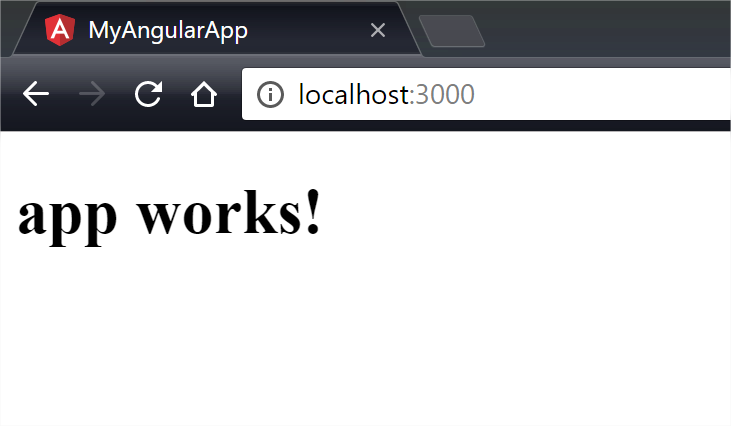
Let's run our app with the command npm run build. We should be able to browse to http://localhost:3000 and receive the "app works!" page:
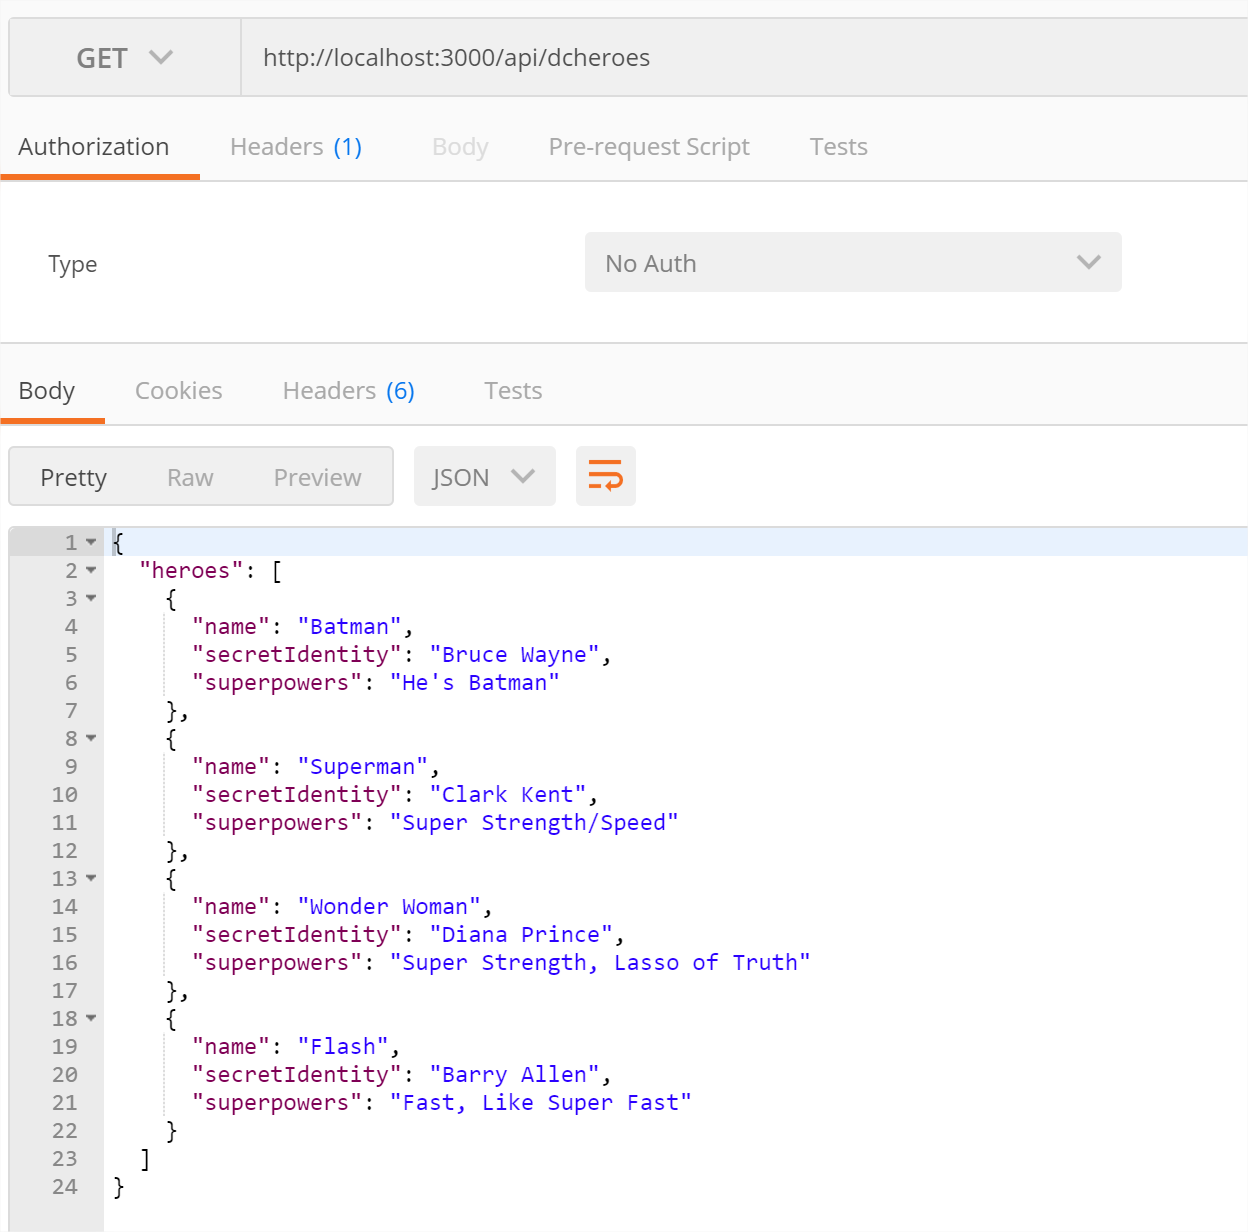
Now let's fire up Postman (or your favorite API testing tool) and hit http://localhost:3000/api/dcheroes with a GET request:
Now let's make some tweaks to our Angular app to show a list of heroes retrieved from our API. To do so, we'll need a few things:
- A class that will hold the hero properties.
- A component that will be used to render our DC heroes.
- A service that will be used by the component to call the API.
First, we'll create our DCHero class under the root of the src folder:
export class DCHero {
    constructor(
        public name:           string,
        public secretIdentity: string,
        public superpowers:    string
    ) { }
}
After that, we'll use ng generate component dchero to generate a component for us. Here's what it generated:
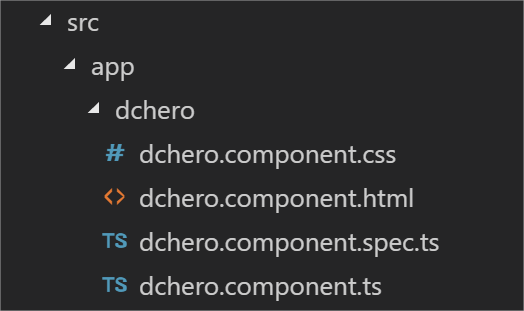
You'll see that it went ahead and scaffolded the component, it's HTML & CSS, as well as a test class. It also updated appmodule.ts for you so you don't have to do it yourself.
Next, we'll create the service using the ng generate service dc-hero-service command. Unfortunately, I couldn't remember off the top of my head what the generated output would look like for the name, so for the rest of this tutorial I'll have to deal with my OCD whenever I read dc-hero-service.service.ts and export class DcHeroServiceService....
But, I digress. Let's see what that ng generate service created for you:

Now we have a service and its associated test suite at the root of the project.
Now, let's make sure our service can do something. Let's jump in and add the following:
import { Injectable } from '@angular/core';
import { Http, Headers, RequestOptions } from '@angular/http';
import { environment } from '../environments/environment';
import { DCHero } from './DCHeroModel';

@Injectable()
export class DcHeroServiceService {

  constructor(private http: Http) { }

  getHeroes(func: (data) => void) {
    const headers = new Headers({ 'Content-Type': 'application/json' });
    const options = new RequestOptions({ headers: headers });

    const url = environment.serviceUrl;

    return this.http.get(url, options).subscribe(
      resp => {
        func(JSON.parse(resp.text()));
      },
      error => {
        console.log('oh no :(');
      });
  }
}
Pretty straight forward: we import http, environment (defined in environment.ts), and our DCHero. We use the environment variable to get the service url we'd like to hit, which in this case is our API, and allow the caller to pass a callback function called func to execute when the http request is fulfilled. You have to keep in mind that this is an Observable, so you won't be able to access its contents directly because it's an async call.
Now that we have our service doing something, we'll need to add some logic to our component:
import { Component, Input, OnInit } from '@angular/core';
import { DCHero } from '../DCHeroModel';
import { DcHeroServiceService } from '../dc-hero-service.service';

@Component({
  selector: 'app-dchero',
  providers: [DcHeroServiceService],
  templateUrl: './dchero.component.html',
  styleUrls: ['./dchero.component.css']
})
export class DcheroComponent implements OnInit {
  dcheroes: DCHero[];

  constructor(private dcHeroService: DcHeroServiceService) { }

  ngOnInit() {
    this.dcHeroService.getHeroes((data) => {
        this.dcheroes = data.heroes.map((hero, index) => {
        return new DCHero(hero.name, hero.secretIdentity, hero.superpowers);
      });
    });
  }
}
We import our DCHero and our DcHeroServiceService (sigh) objects. The service as added to the component's providers array. We allow Angular to inject our service for us by specifying it's type in the constructor and, on init, we tell it to call the getHeroes method and we map the results to DCHero[].
So we have a service that will call our API to get a list of DC heroes, a component that will call the service on init, and a class that will hold the properties of each hero. Now we just need to display the contents of the component.
To do so, we'll open up the HTML for the DC hero component:
<div *ngFor="let dchero of dcheroes">
  <h2>{{dchero.name}}</h2>
  <div>
    <label>Secret Identity: </label><span>{{dchero.secretIdentity}}</span>
  </div>
  <div>
    <label>Superpowers: </label><span>{{dchero.superpowers}}</span>
  </div>
</div>
Nothing to it: take DCHero[] and spit out its contents via a for loop. Next, we need to tell the app component's HTML to render our DC hero component:
<h1>
  {{title}}
</h1>

<app-dchero></app-dchero>
And one quick cosmetic change: let's update the title output from the app component to be something other than "app works!":
import { Component } from '@angular/core';

@Component({
  selector: 'app-root',
  templateUrl: './app.component.html',
  styleUrls: ['./app.component.css']
})
export class AppComponent {
  title = 'DC Superheroes!';
}
And finally, for completeness, our environment.ts:
export const environment = {
  production: false,
  serviceUrl: 'http://localhost:3000/api/dcheroes'
};
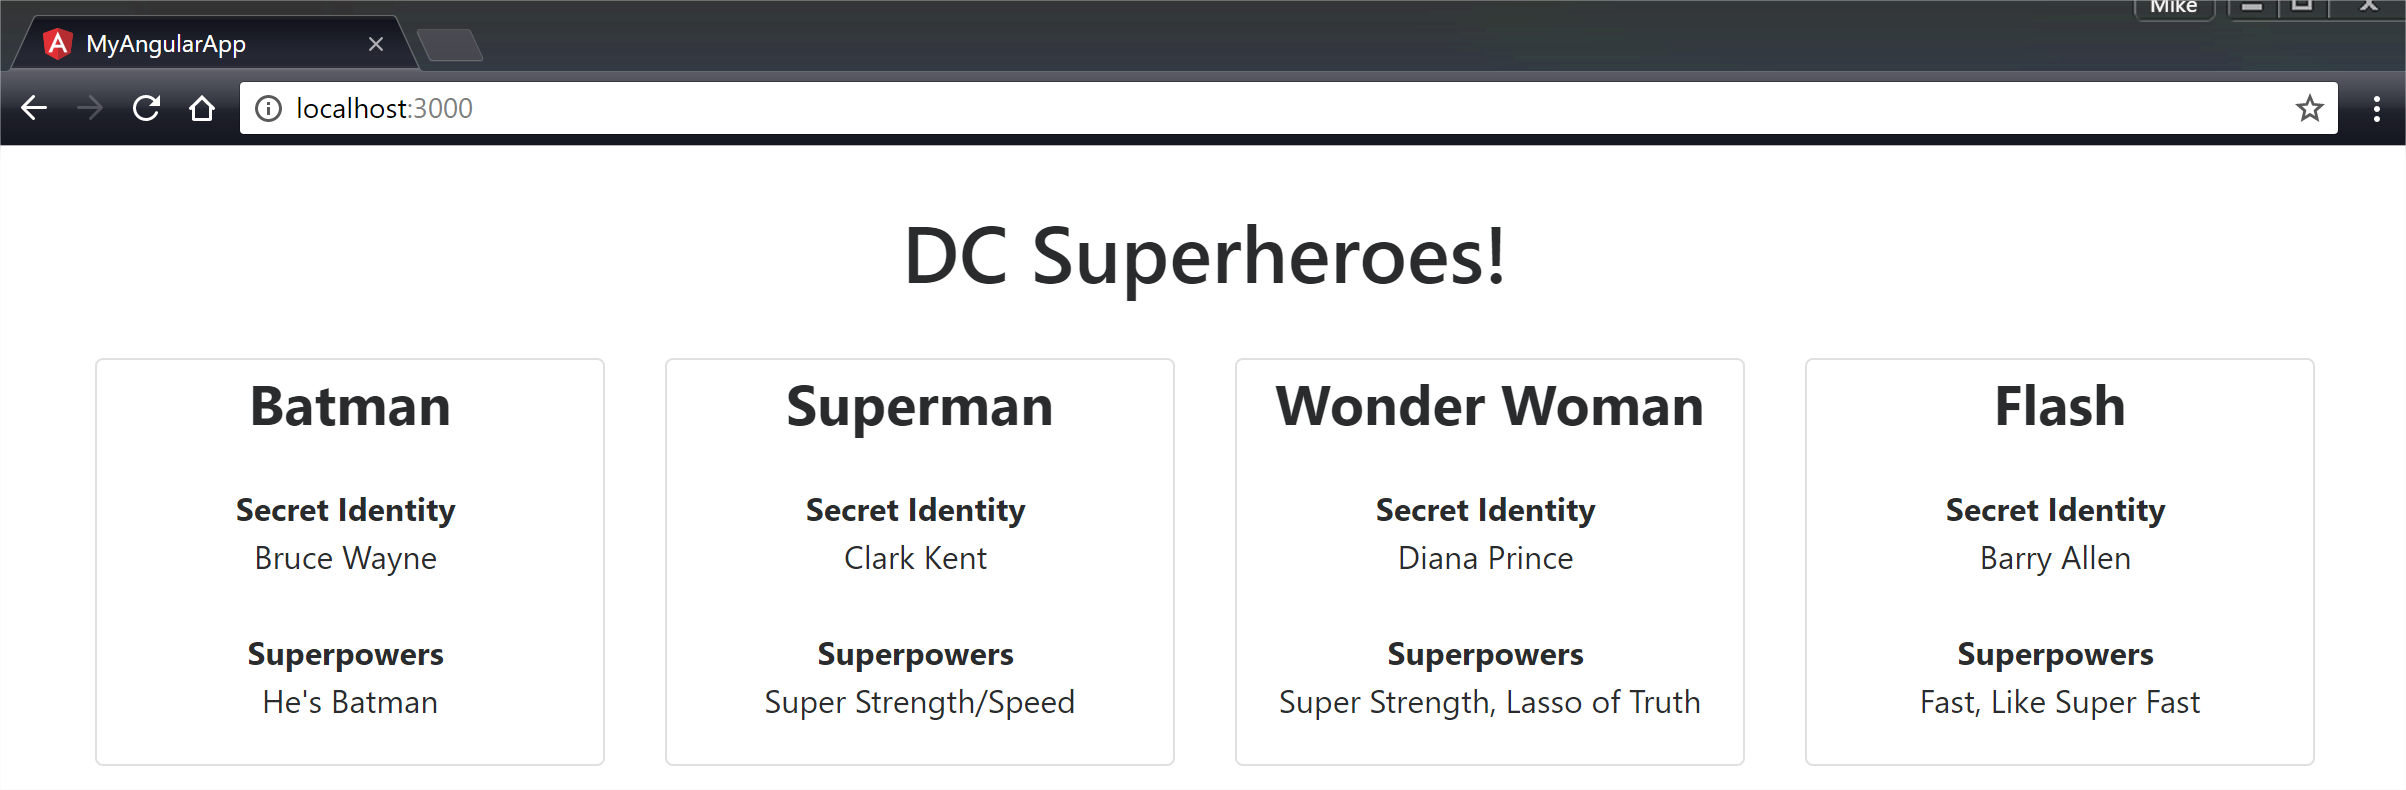
Let's run it!
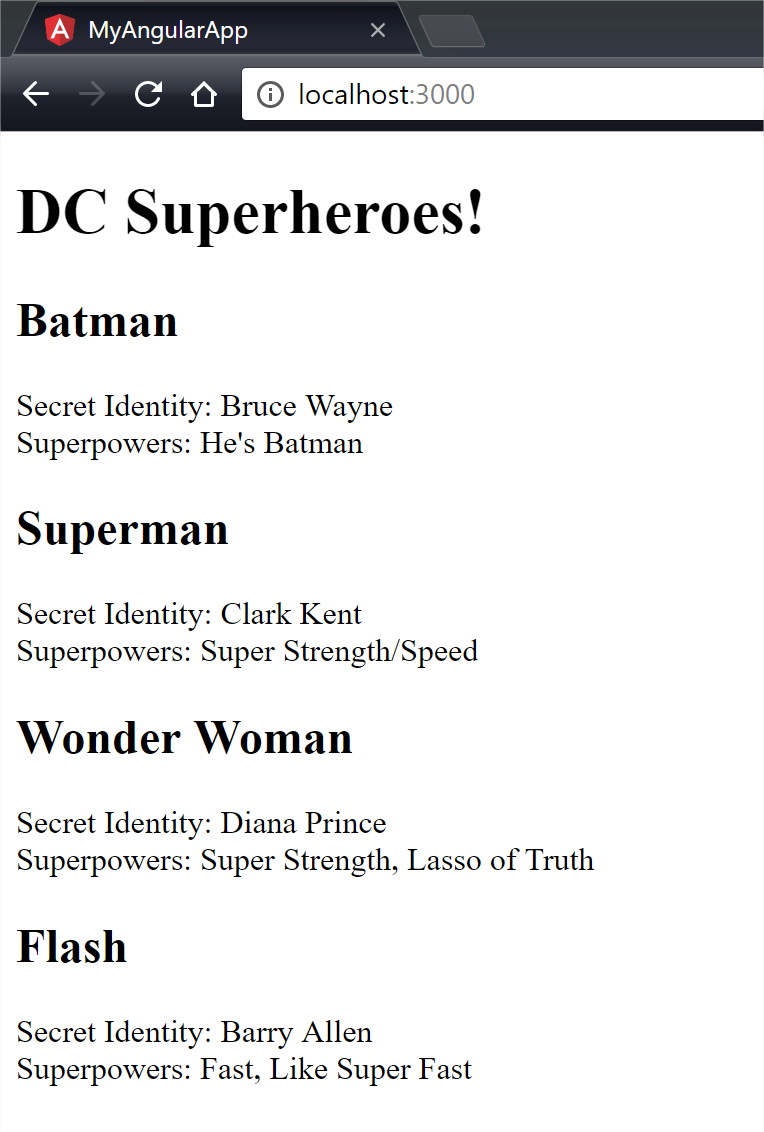
Cool! As a developer, we're stoked it works. But, it's pretty ugly. Like, really ugly. Let's fix that. Add whatever styling you like, but I'm going to steal from Bootstrap 4:
So let's recap:
- We have an Angular 4 app with a node.js backend.
- Our app is a simple SPA, that calls an API endpoint to retrieve some data and display it.
- We learned some angular-cli commands to scaffold the service and component.
- We're able to run the app successfully on our machine.
In the next post, we'll take what we've built and look at a couple of different ways to push it to the cloud.